Van 2.0 - Building the Battery
I built a 4 cell 12v 285 amp hour LiFePO4 battery bank from scratch for the new van.
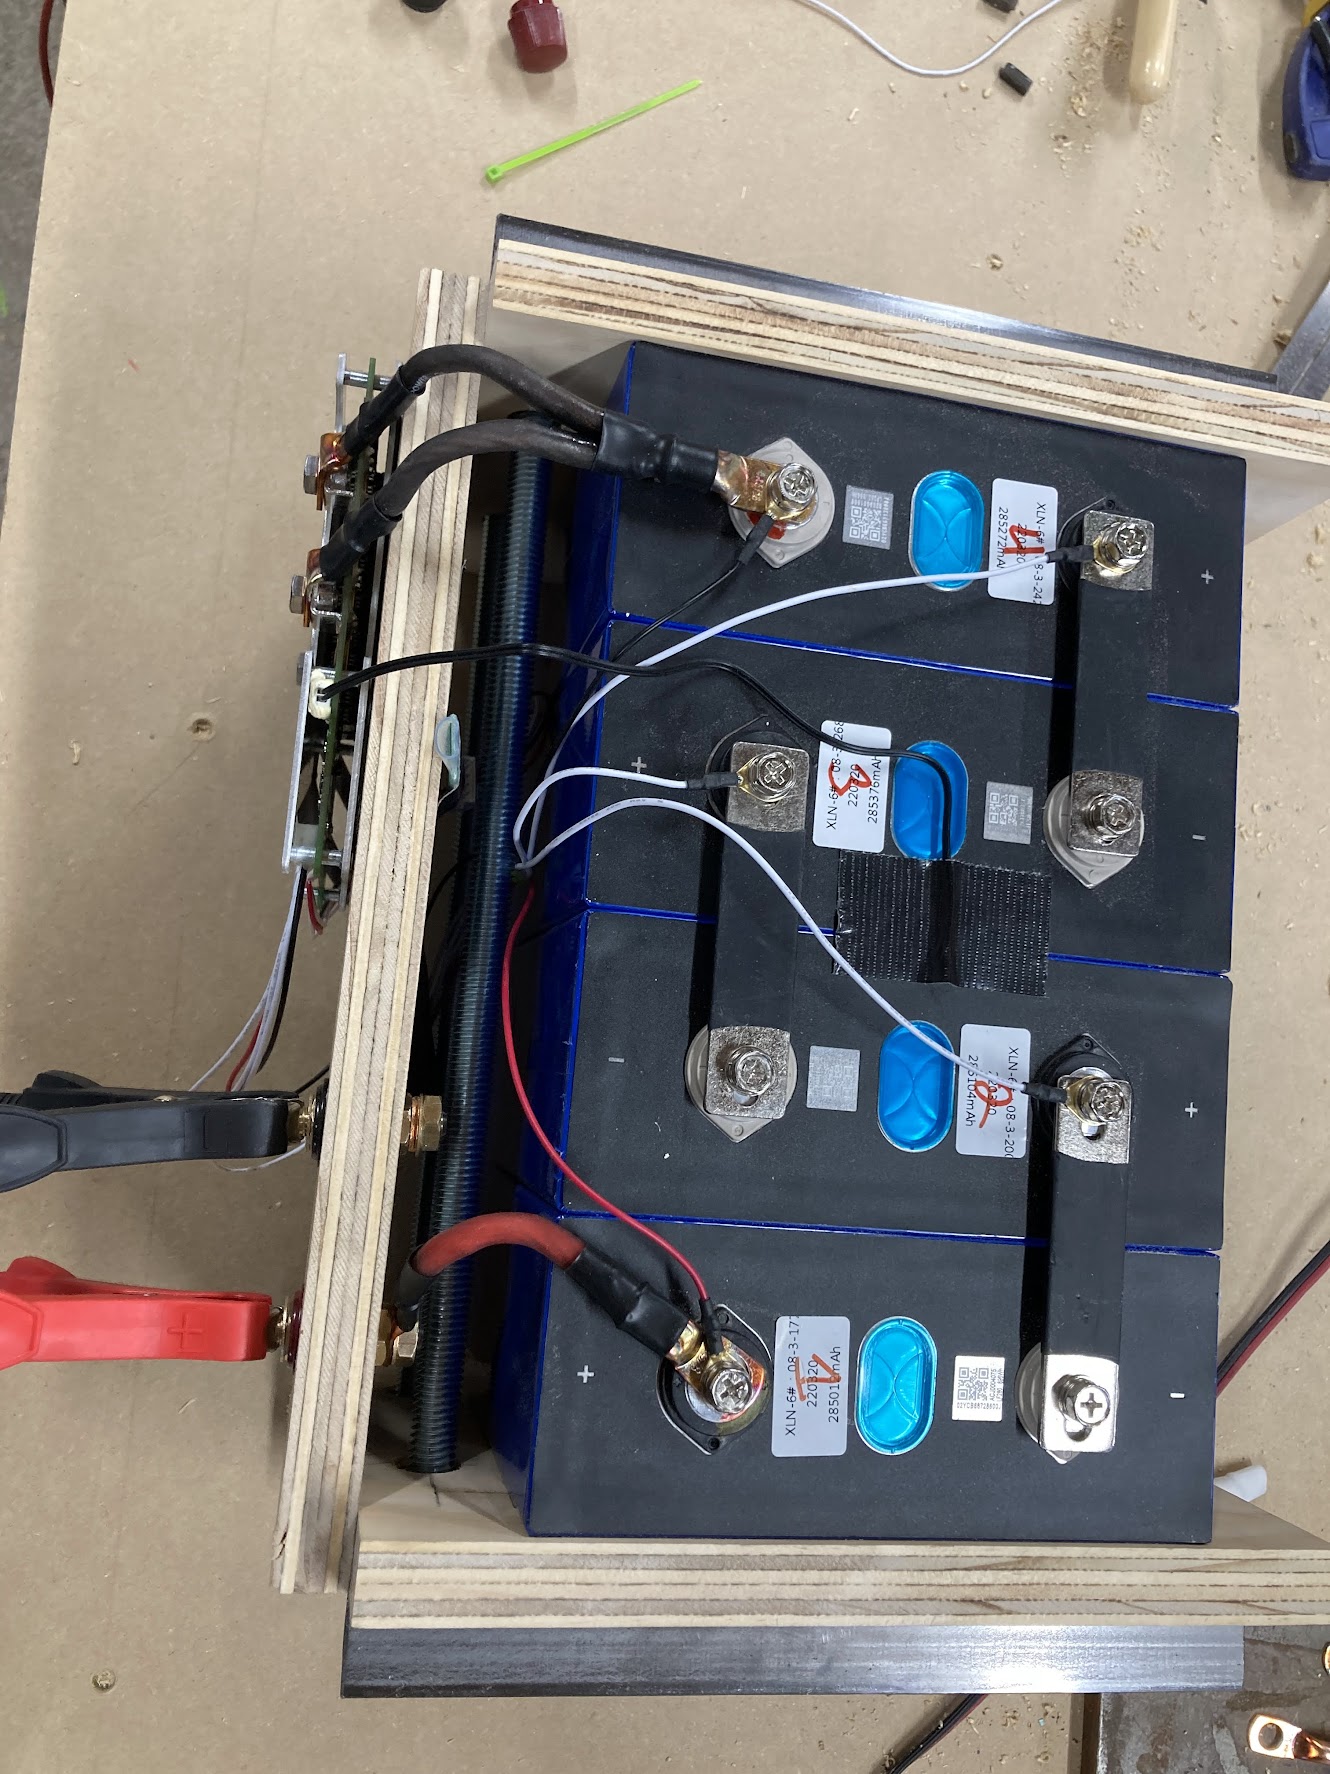
I ordered the lithium ion cells from AliExpress, and although they took about 2 months to arrive, they were well-packaged and very high quality. I wired them up in series (four 3.2volt cells in series gets to a nominal 12volt system). In front of the cells is a battery monitoring system (BMS) that manages the charge, discharge, and temperature-related limitations of a lithium system. This battery doesn't like to get too cold. Below you can see the BMS wired to a negative terminal, as well as each other positive terminal so it can maintain equilibrium between cells, and keep an eye on the health of the battery.
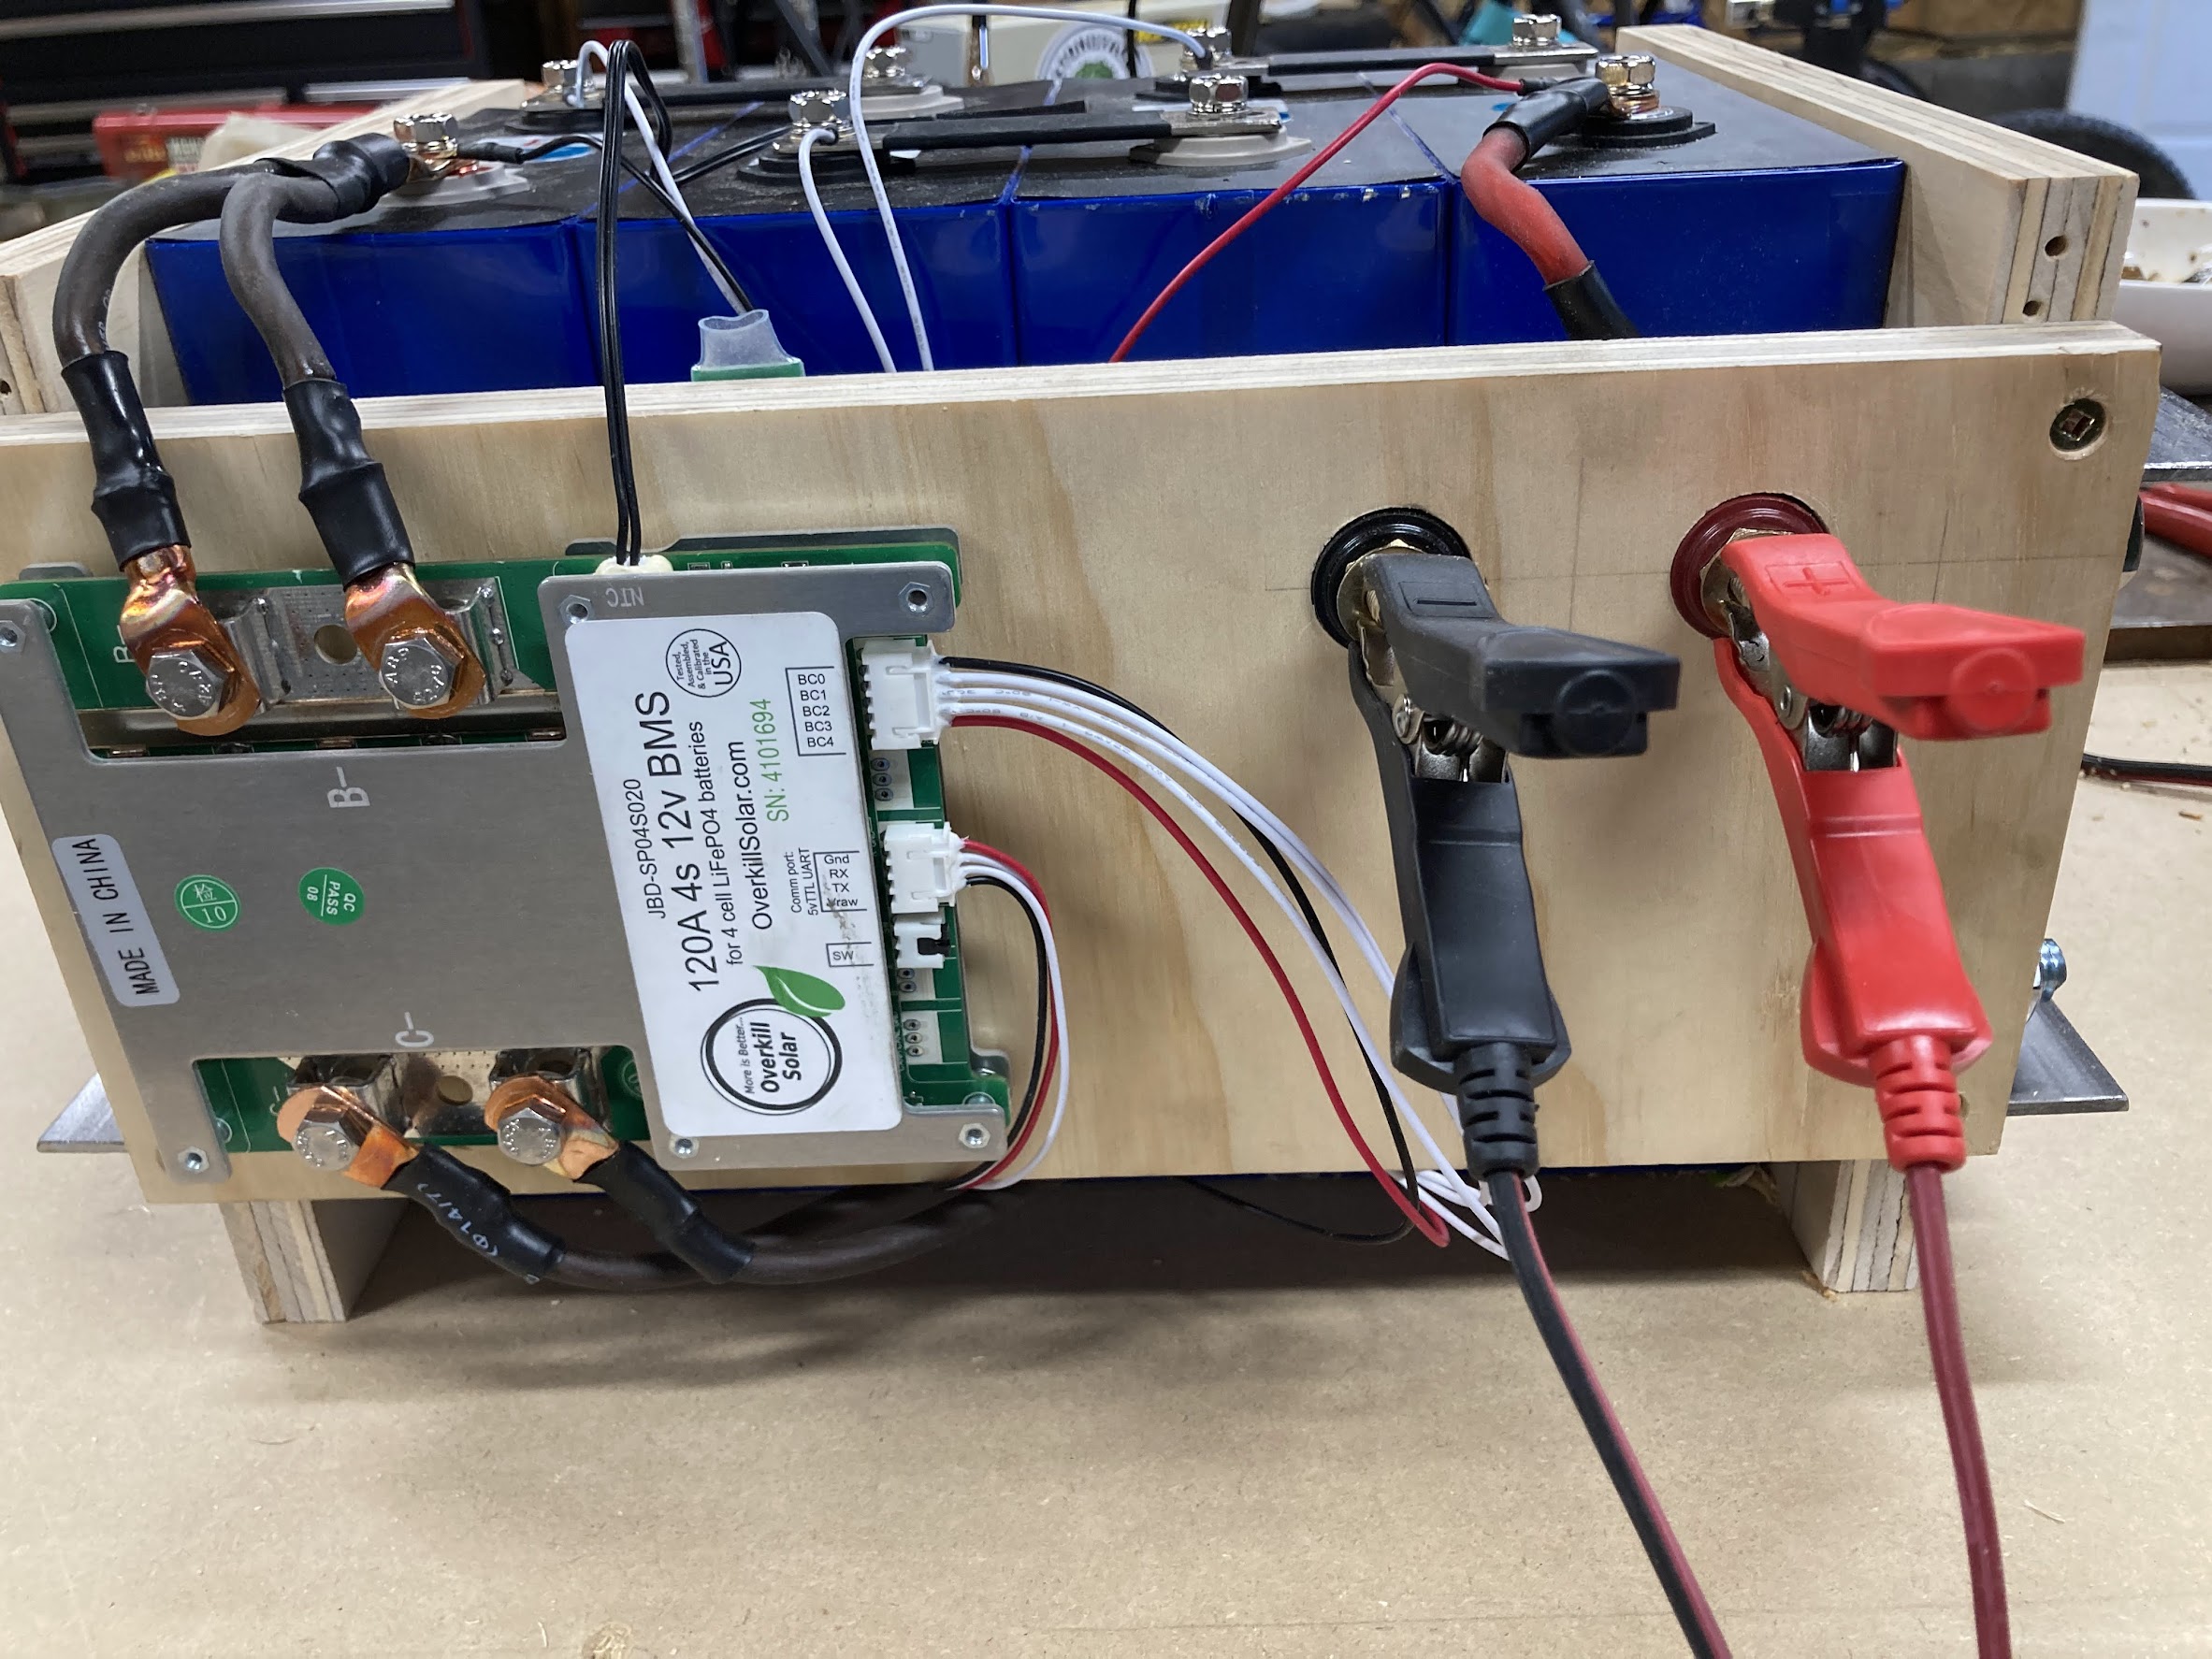
Here is a better view of the BMS. The battery is connected to some remote positive and negative terminals, so the alligator clips are on the single point of access for the battery.
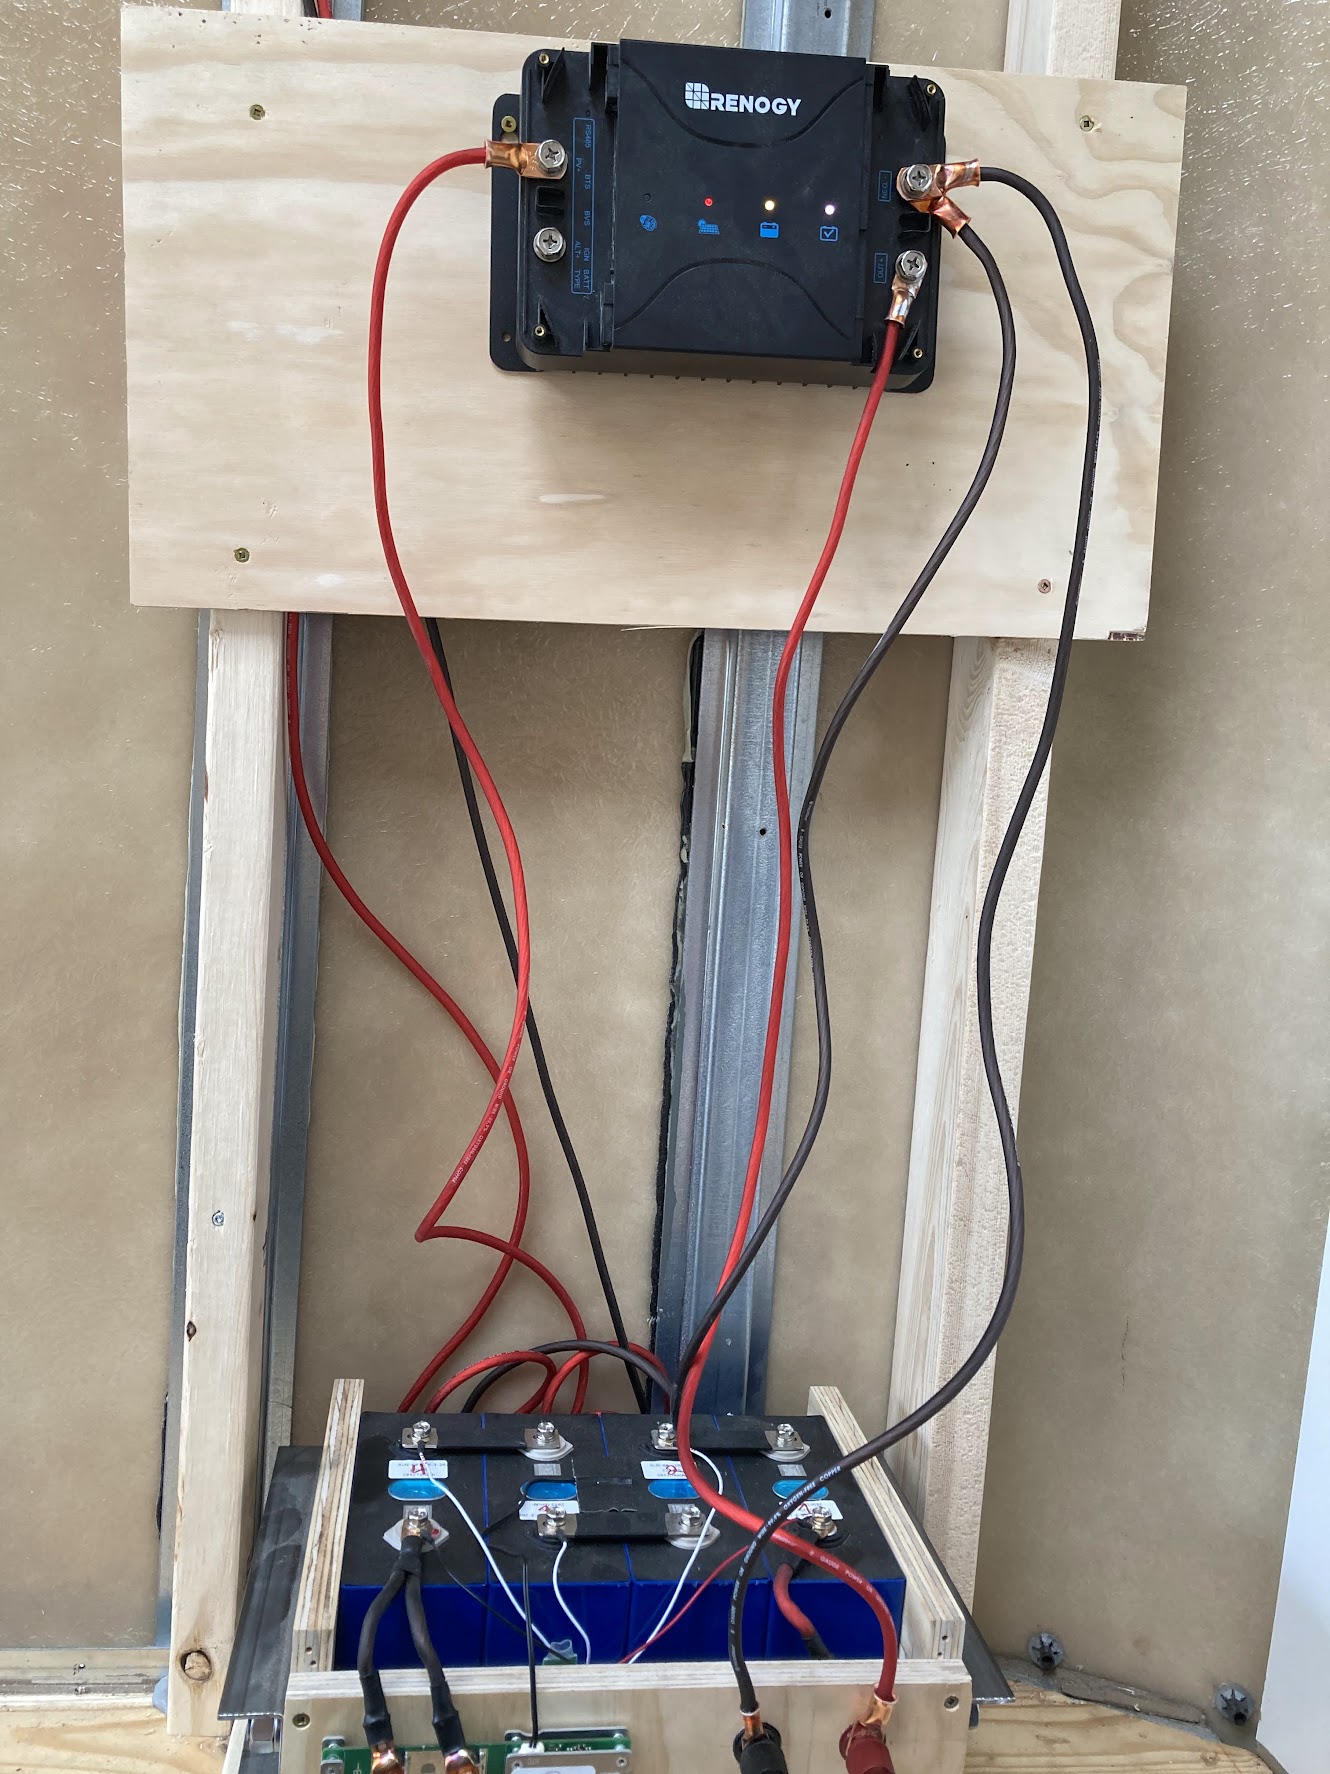
Here's a demonstrative temporary setup. The Renogy box manages charging inputs from the solar panels and the alternator of the van, converting that power into charging current for the battery.
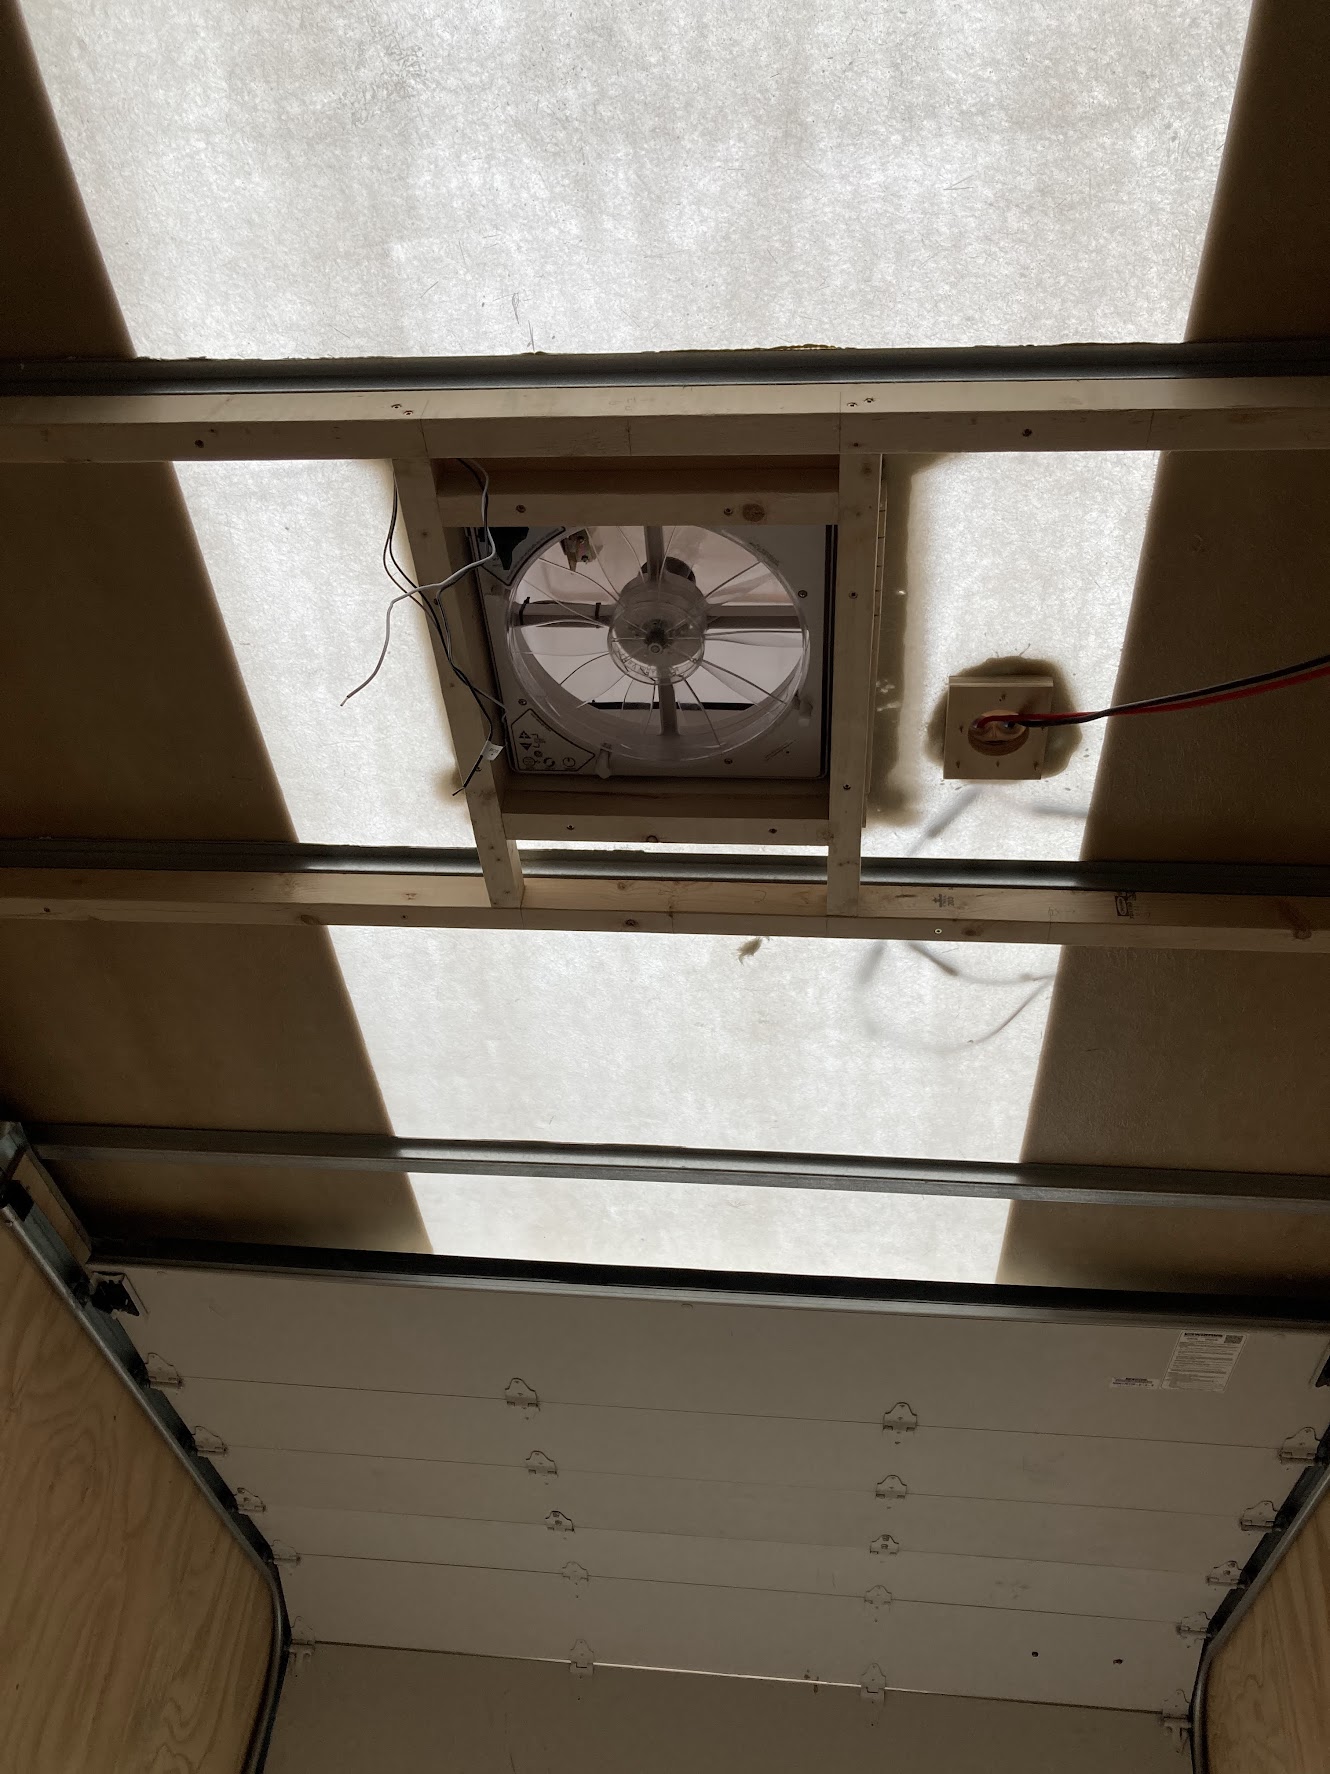
Bonus pic of the fan in the ceiling, and the port I drilled in the roof for the solar panels to connect to the charging system.
This is the app that reads data from the bluetooth-enabled BMS (from Overkill Solar). This helps me keep an eye on the battery health, and if I turn off the "Discharge" toggle, it acts as a kill switch to ensure nothing can drain the battery. Pretty slick.

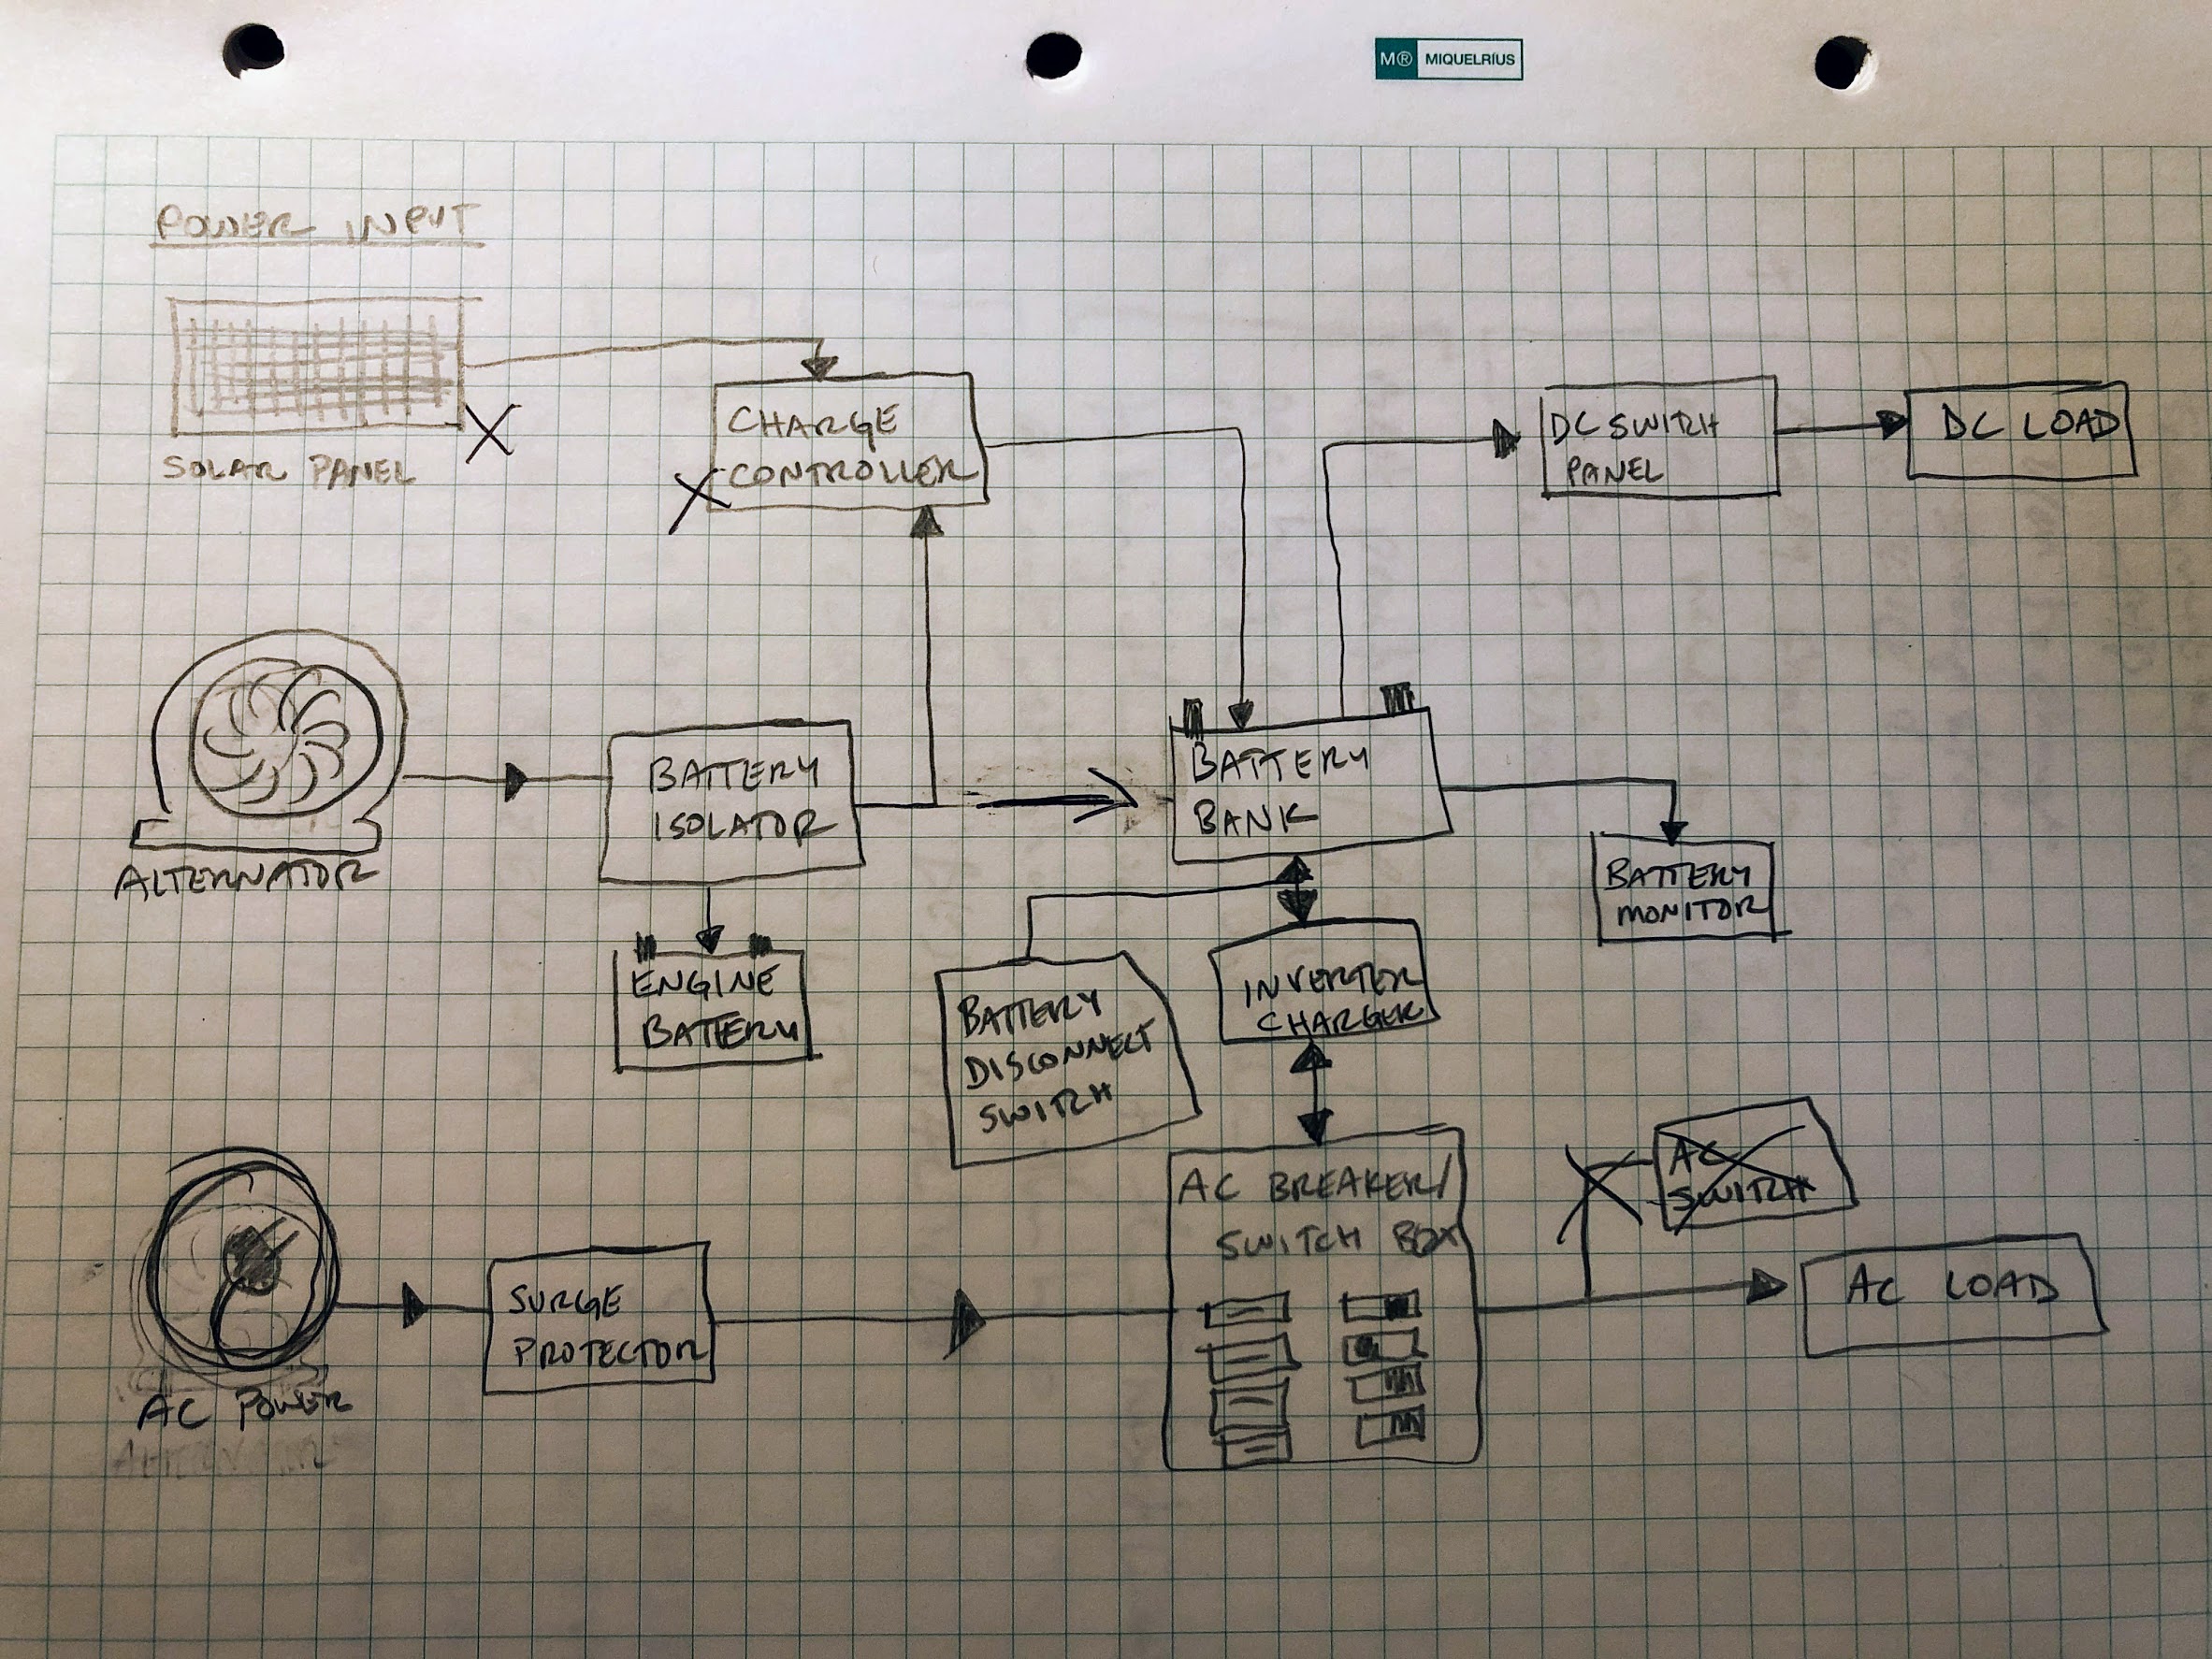
And here is the rough outline of the van's electrical system, of which the battery is only one small portion.