Van 1.0 - Building a Kitchen Cabinet
The van needed a kitchen cabinet of reasonable show quality. This is the first piece of "real" furniture I've built and I'm proud of it.
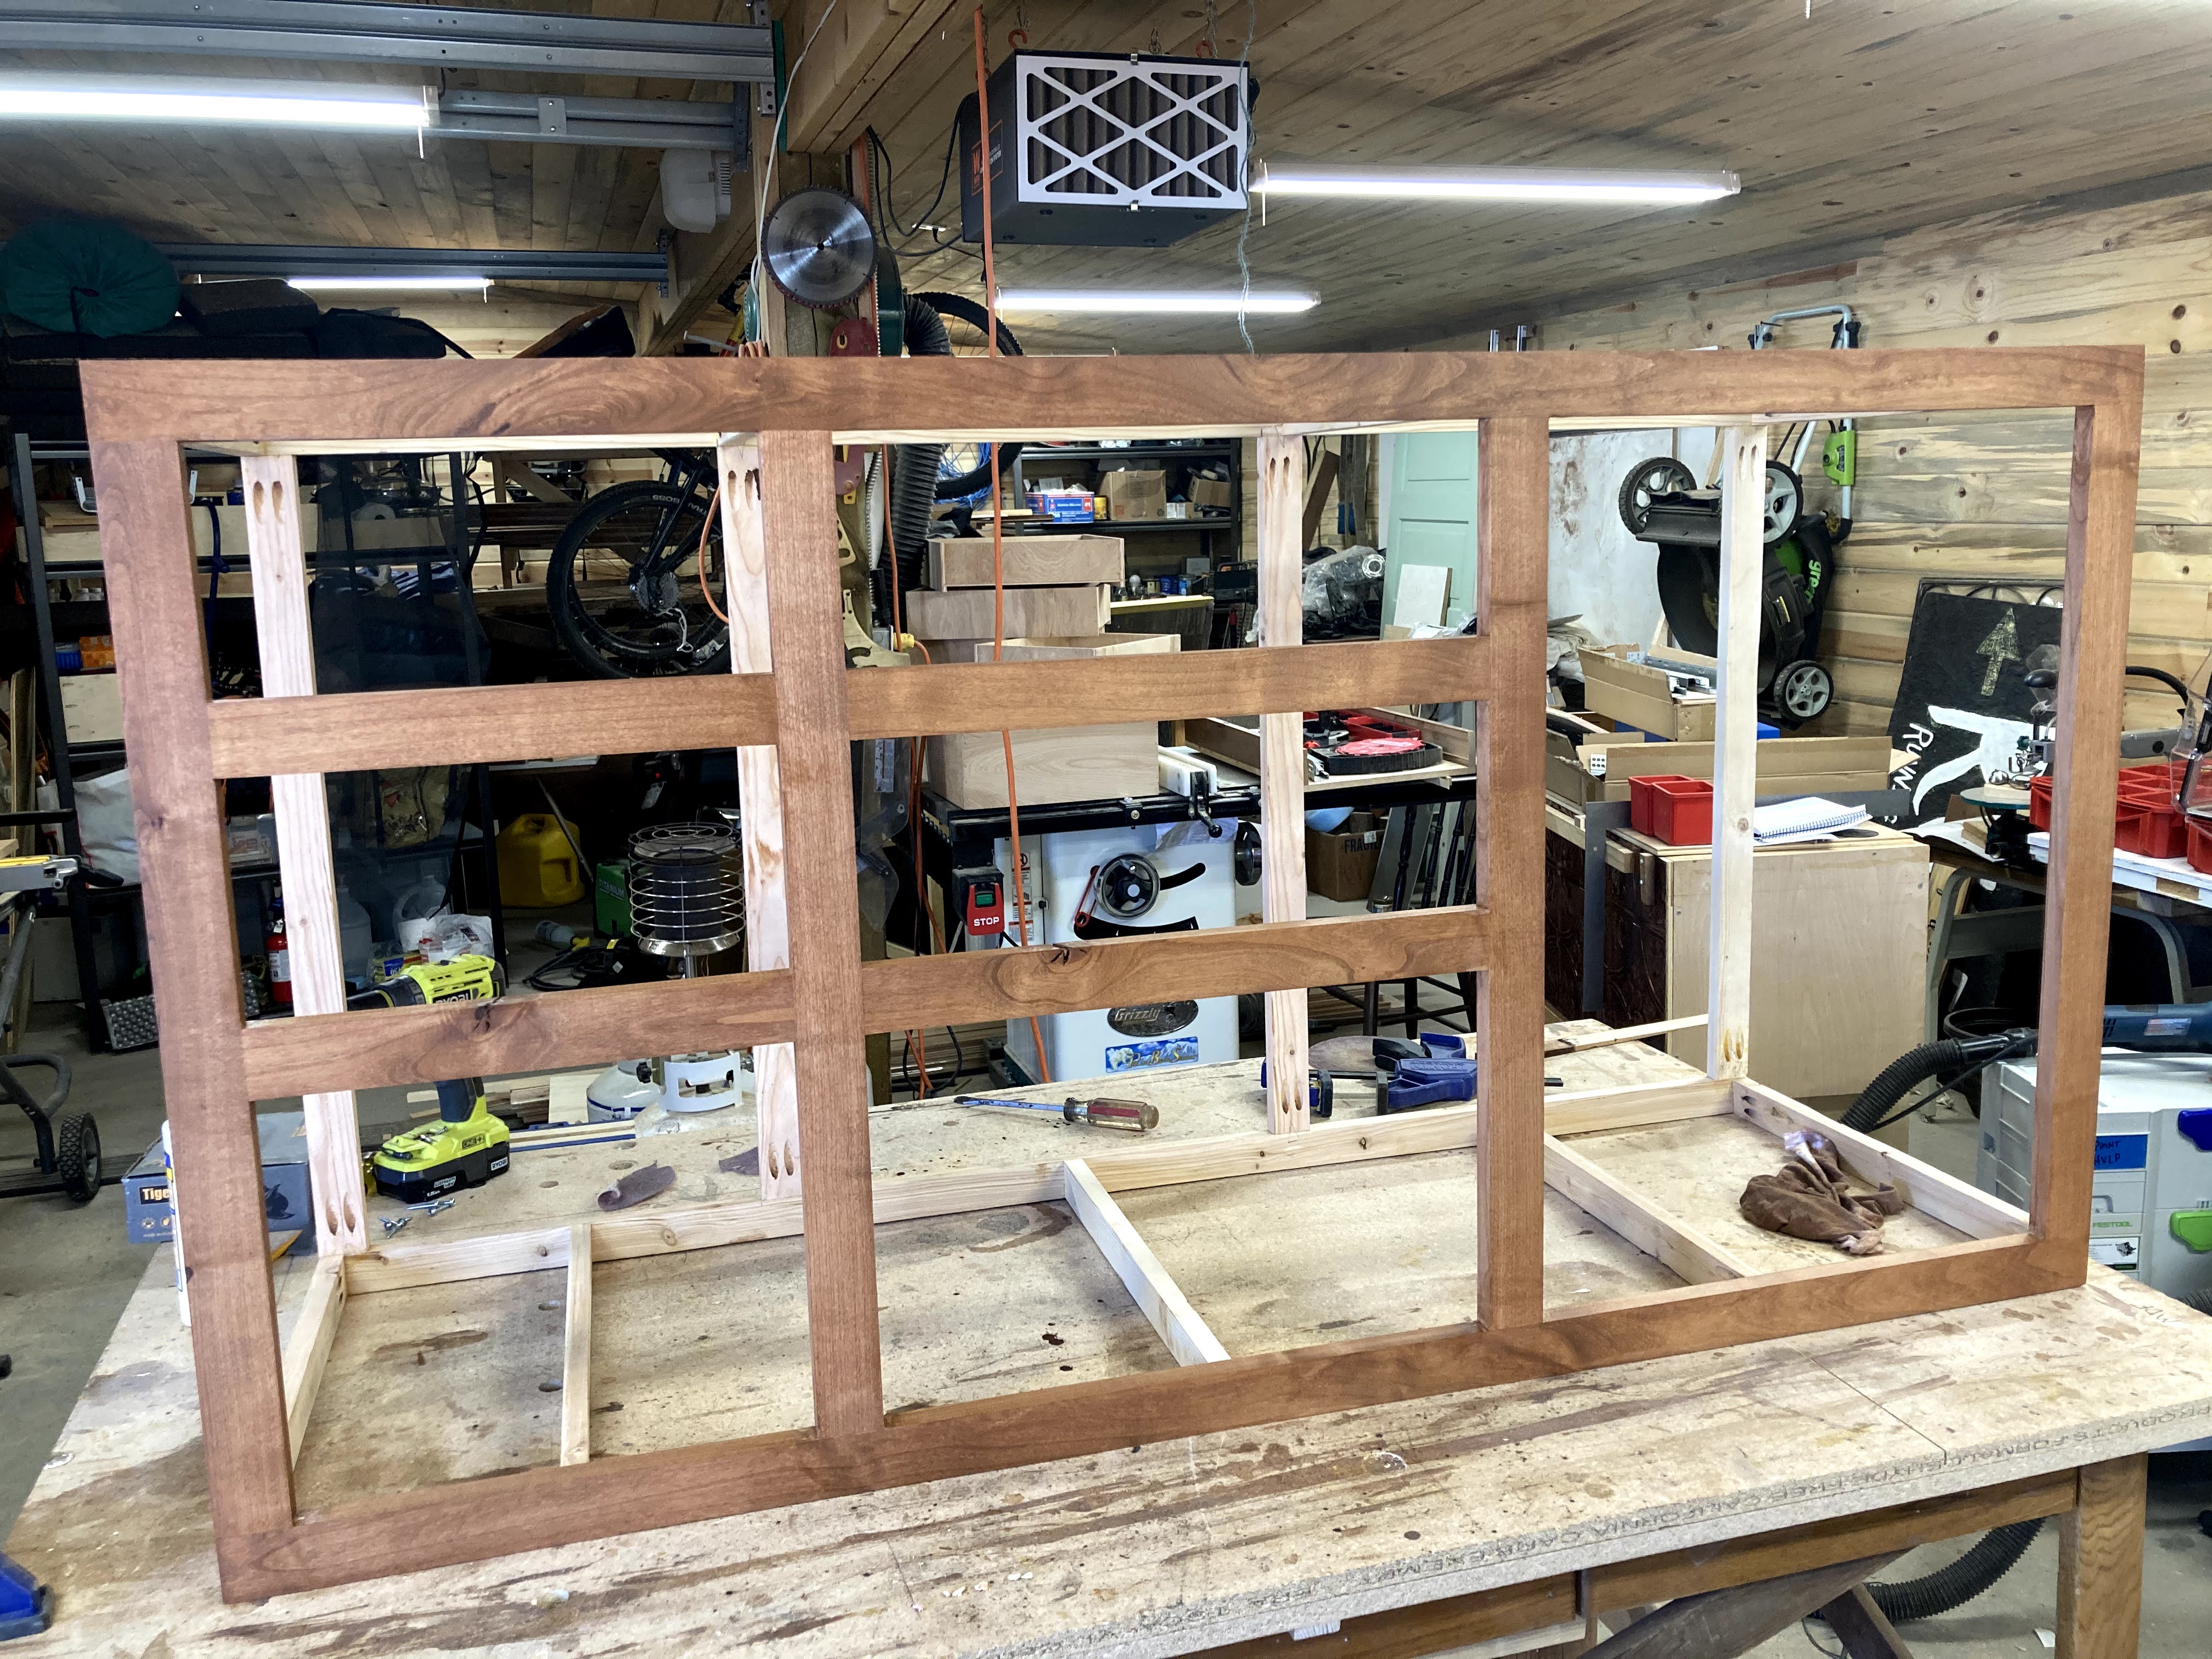
The face frame and drawer fronts are 3/4" knotty alder, the cabinet frame is glued and kreg'd 1x2s, and the drawers are 1/2" plywood (to keep the weight down) on chinese knock-off Blum undermount slow-close full-extension 18" sliders. At 1/3 the price of the Blum drawers, which I've enjoyed using in the past, I had to try them out. They aren't quite as nice, but I would definitely use them again.
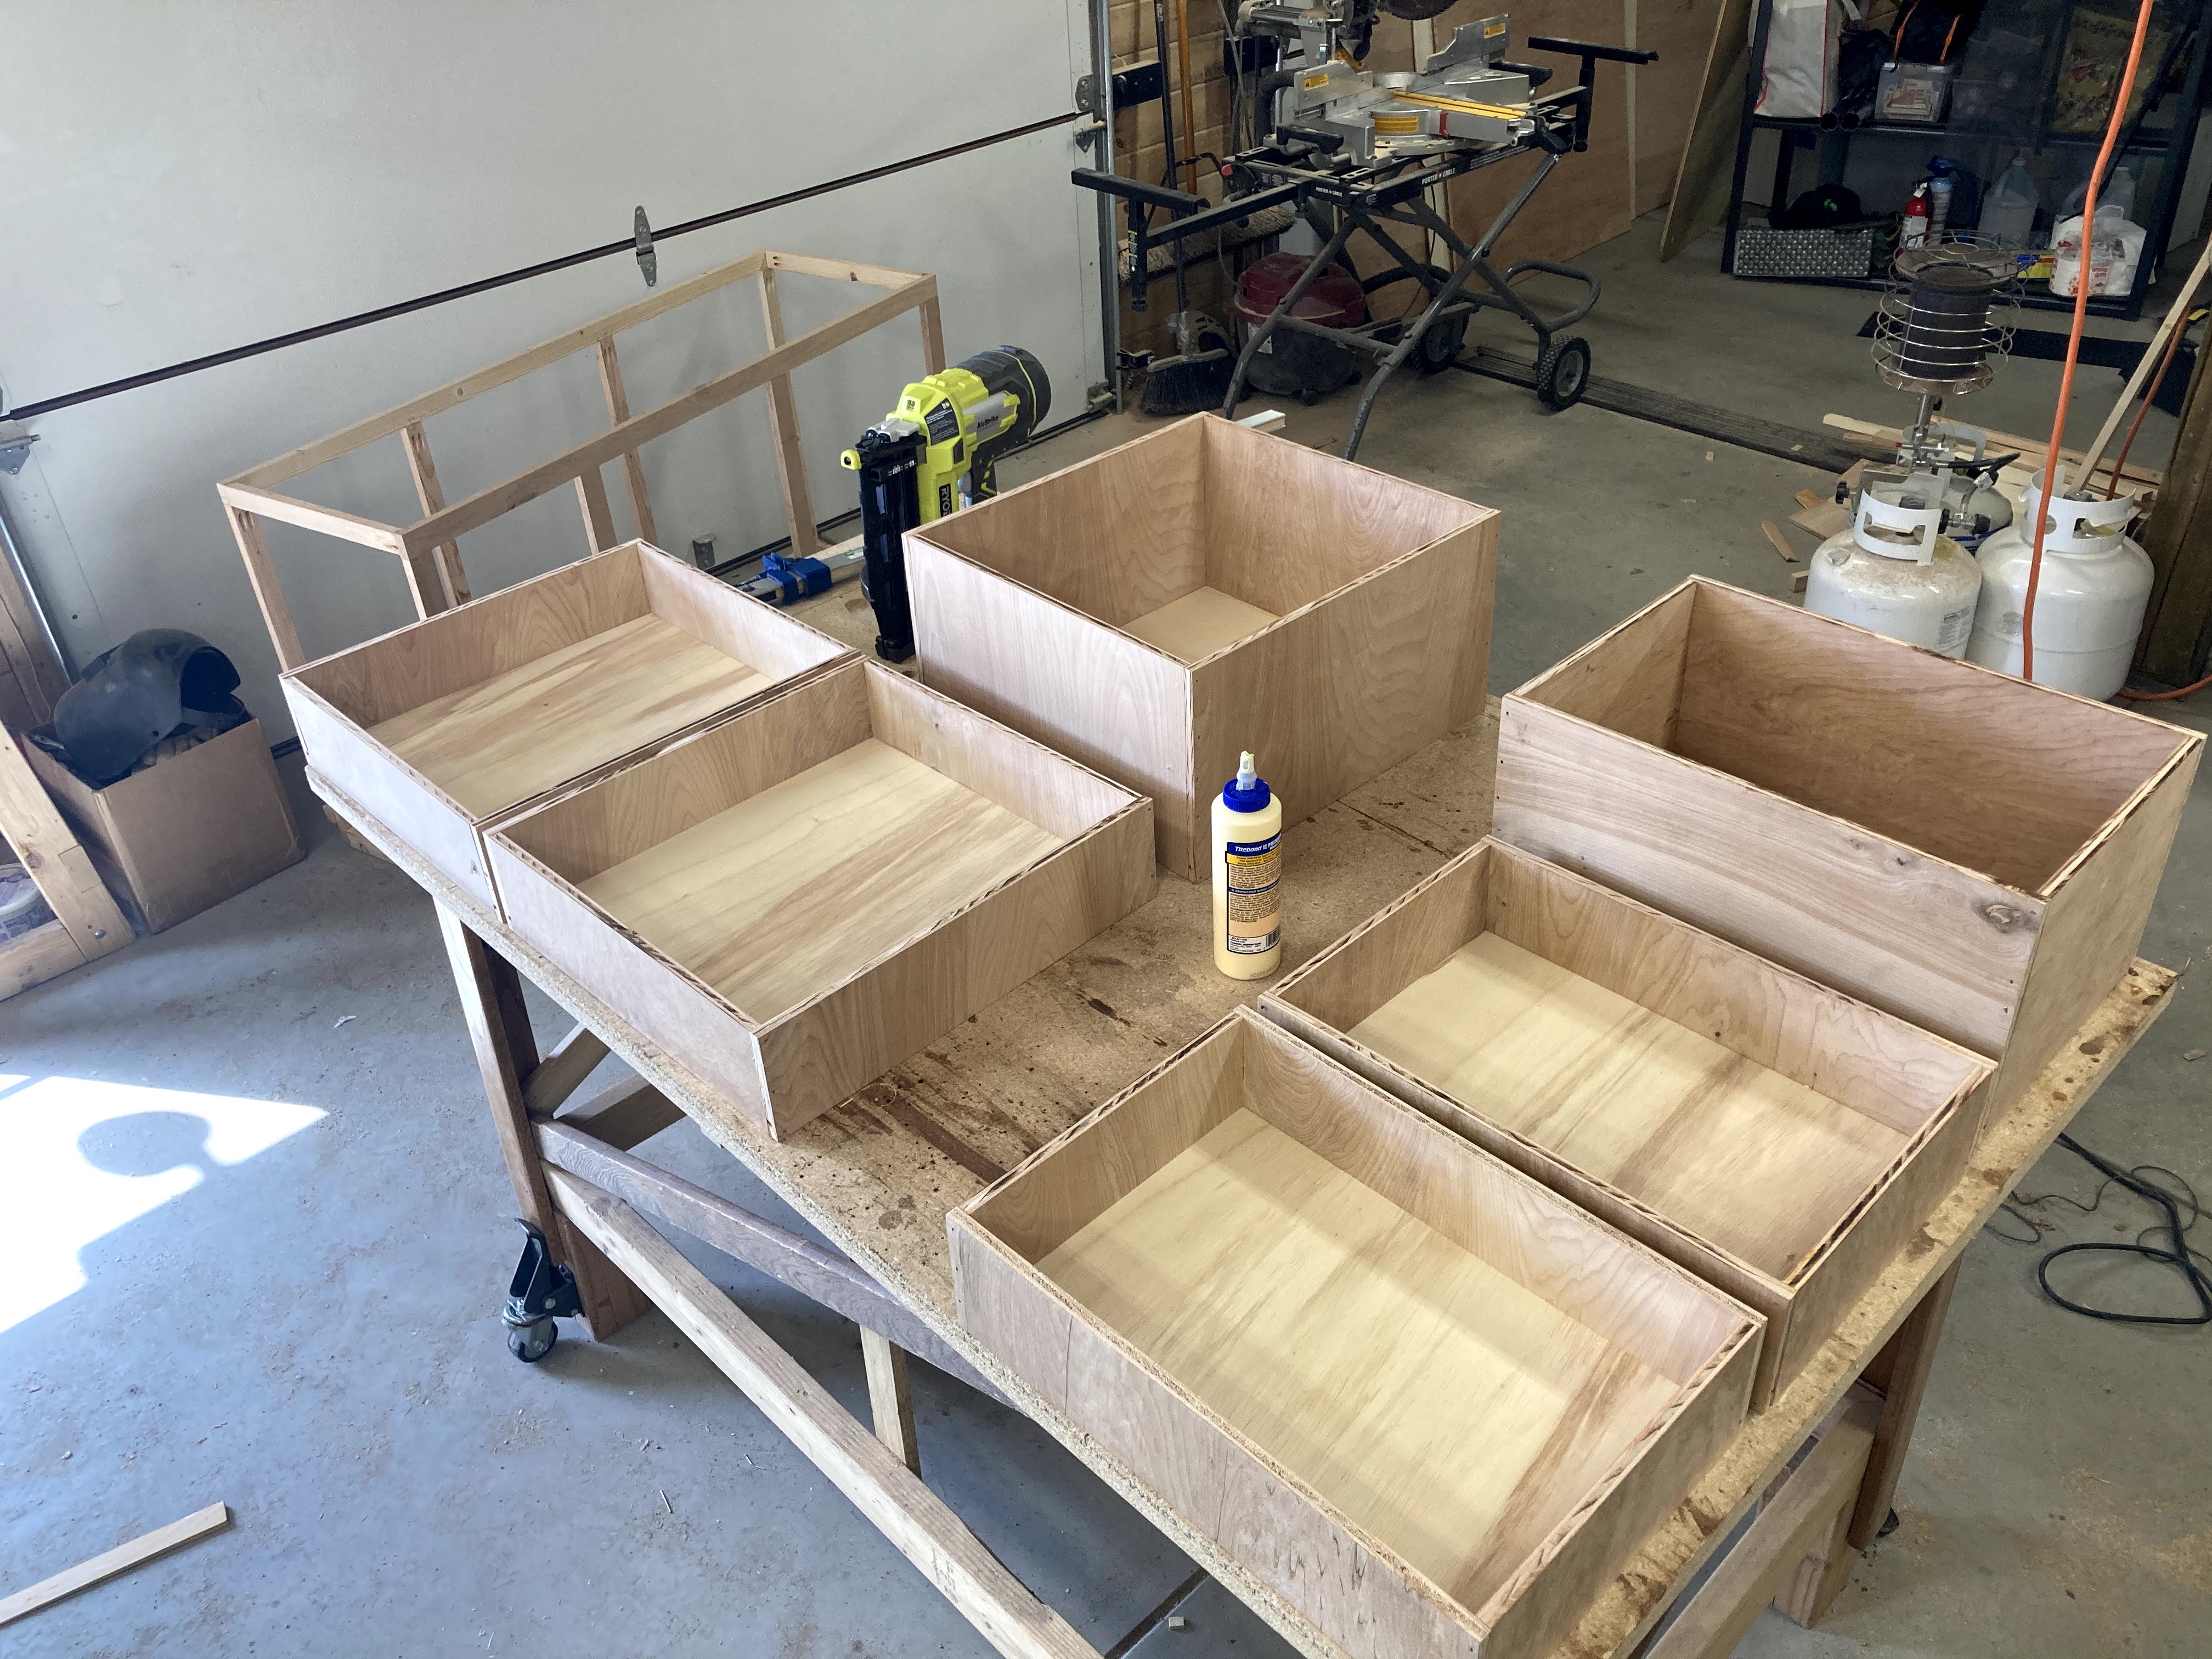
After layout out the face frame I put together the drawer boxes with a dado blade on the table saw, my festool track saw, and a chop saw to bring the plywood strips to length. The boxes went together pretty quickly. Next up was fitting the drawer slides, and getting the hardware installed on the boxes to make sure they would slide correctly and sit flush to the frame.
A glamour shot…
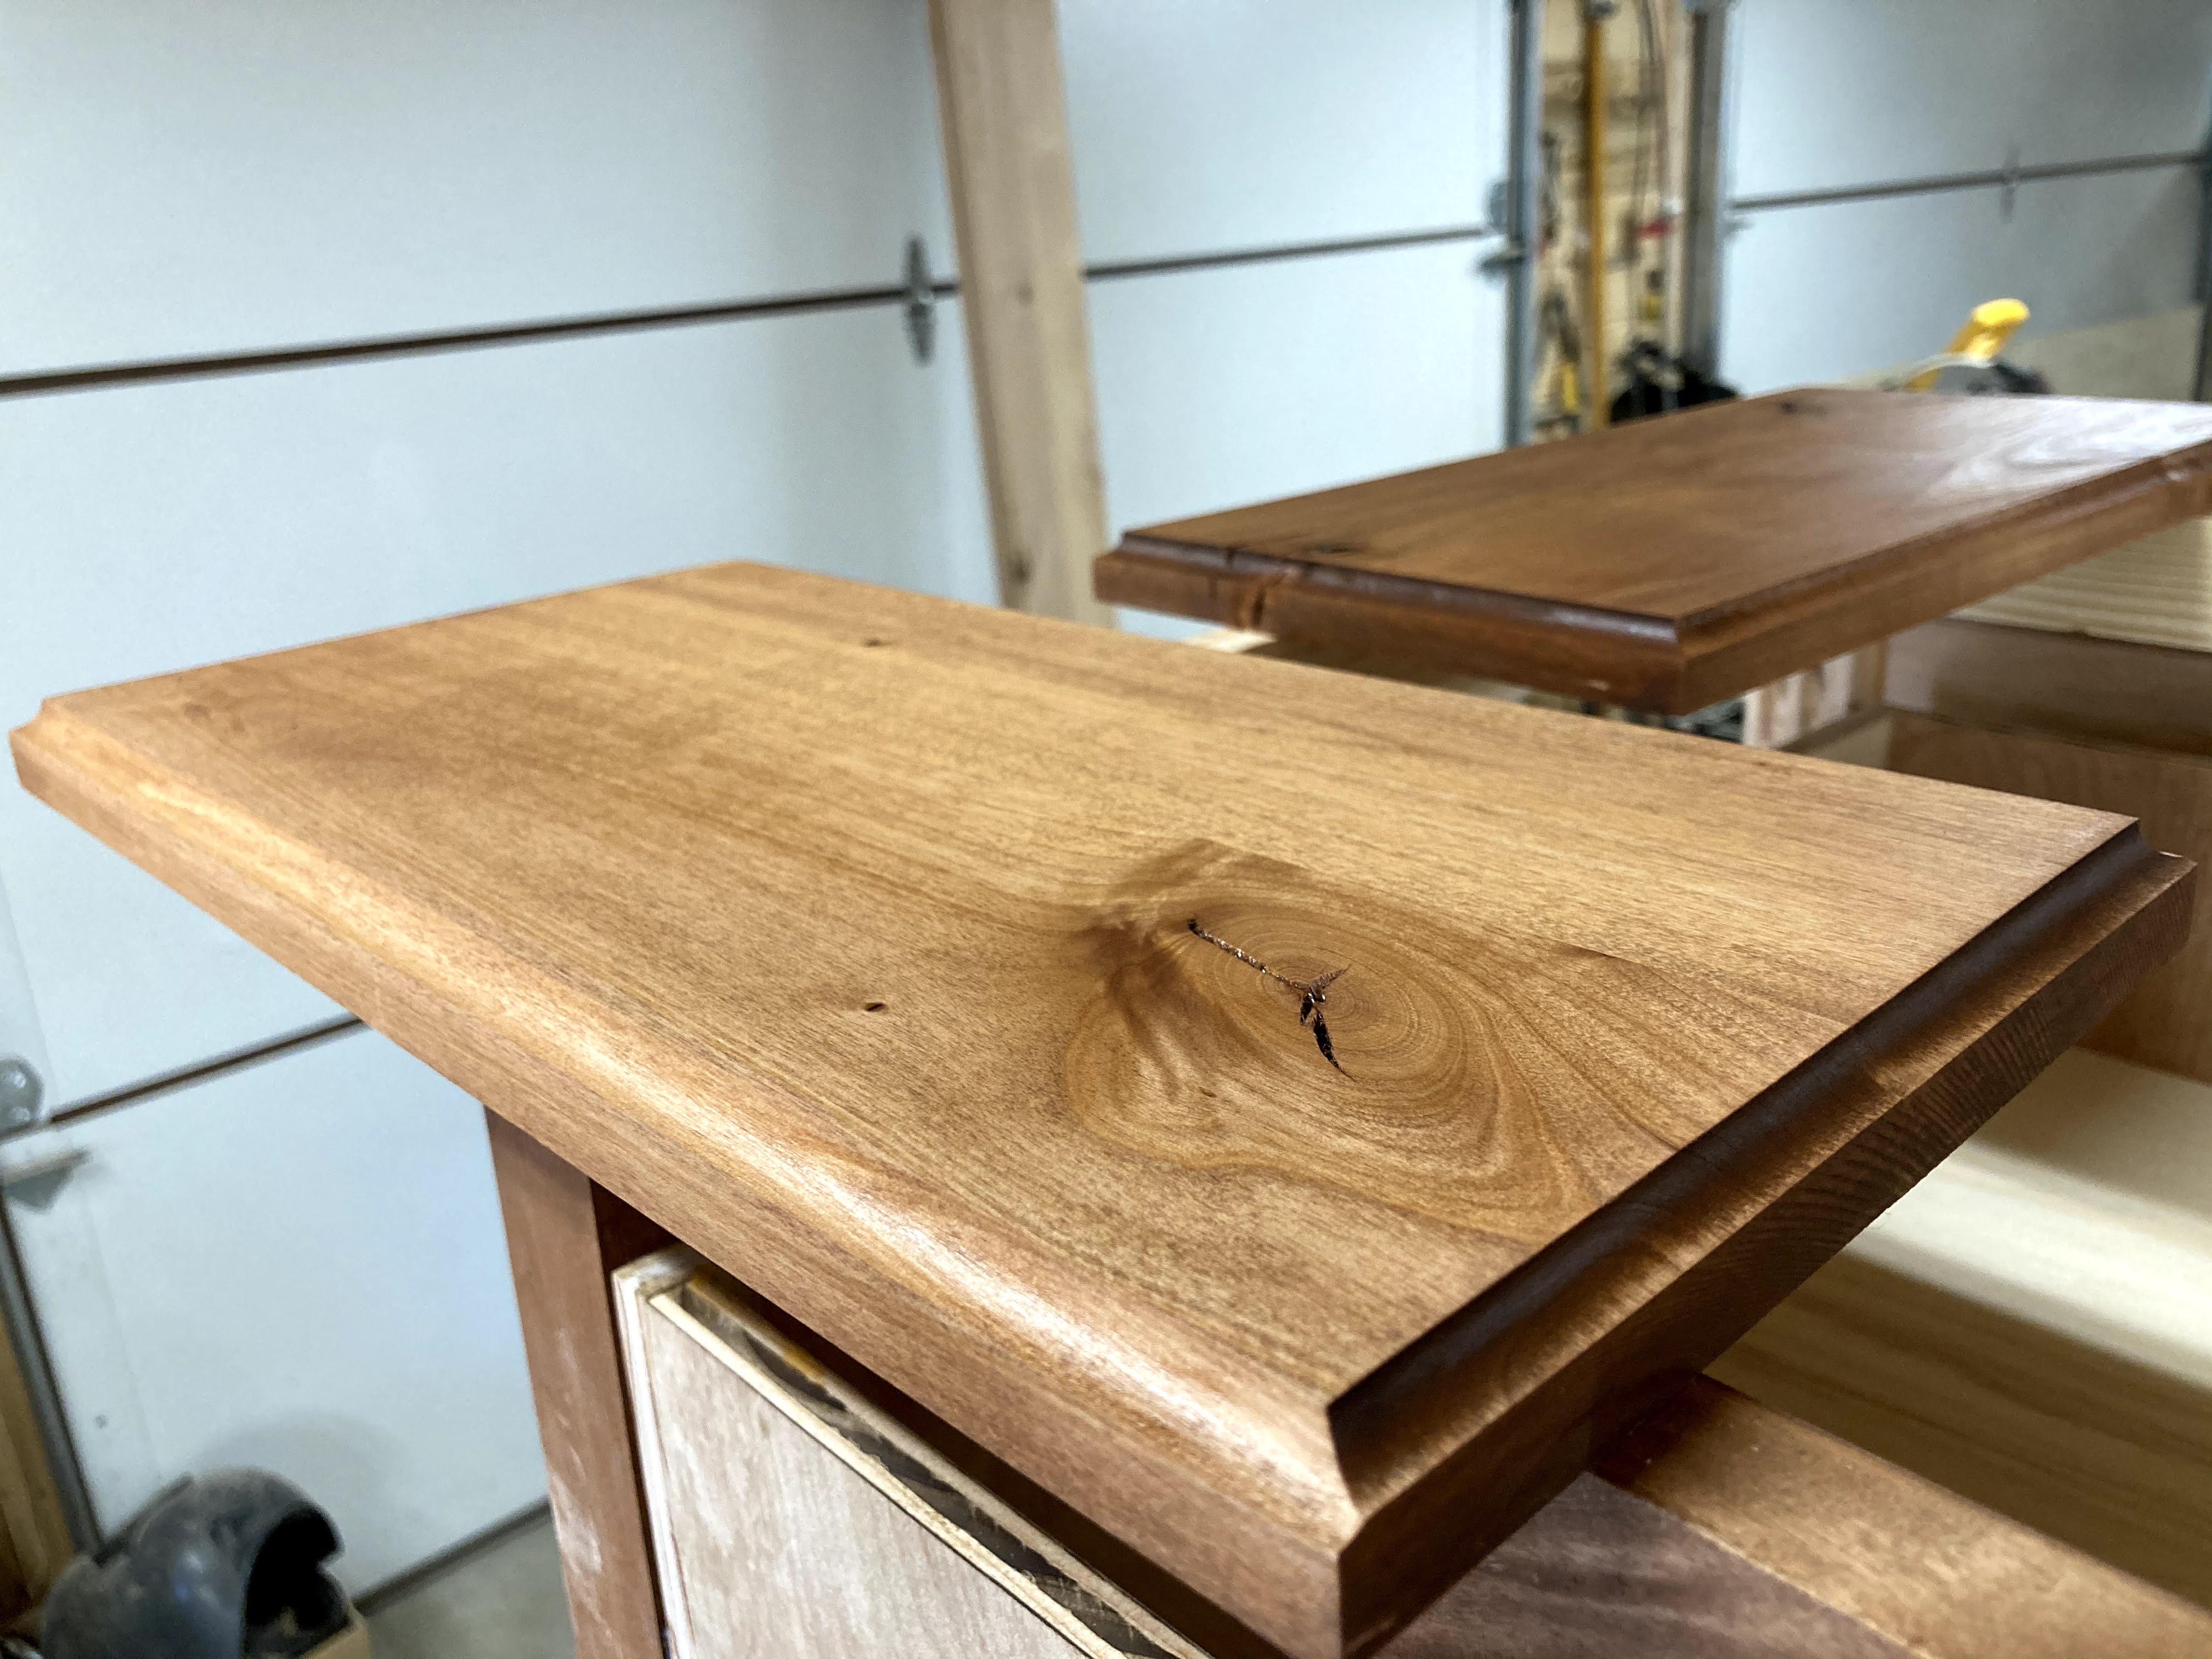
I glued up alder panels to make the drawer fronts, and ran the edges with a 3/8" roundover bit to get the accent. You know, like a "real" drawer front.
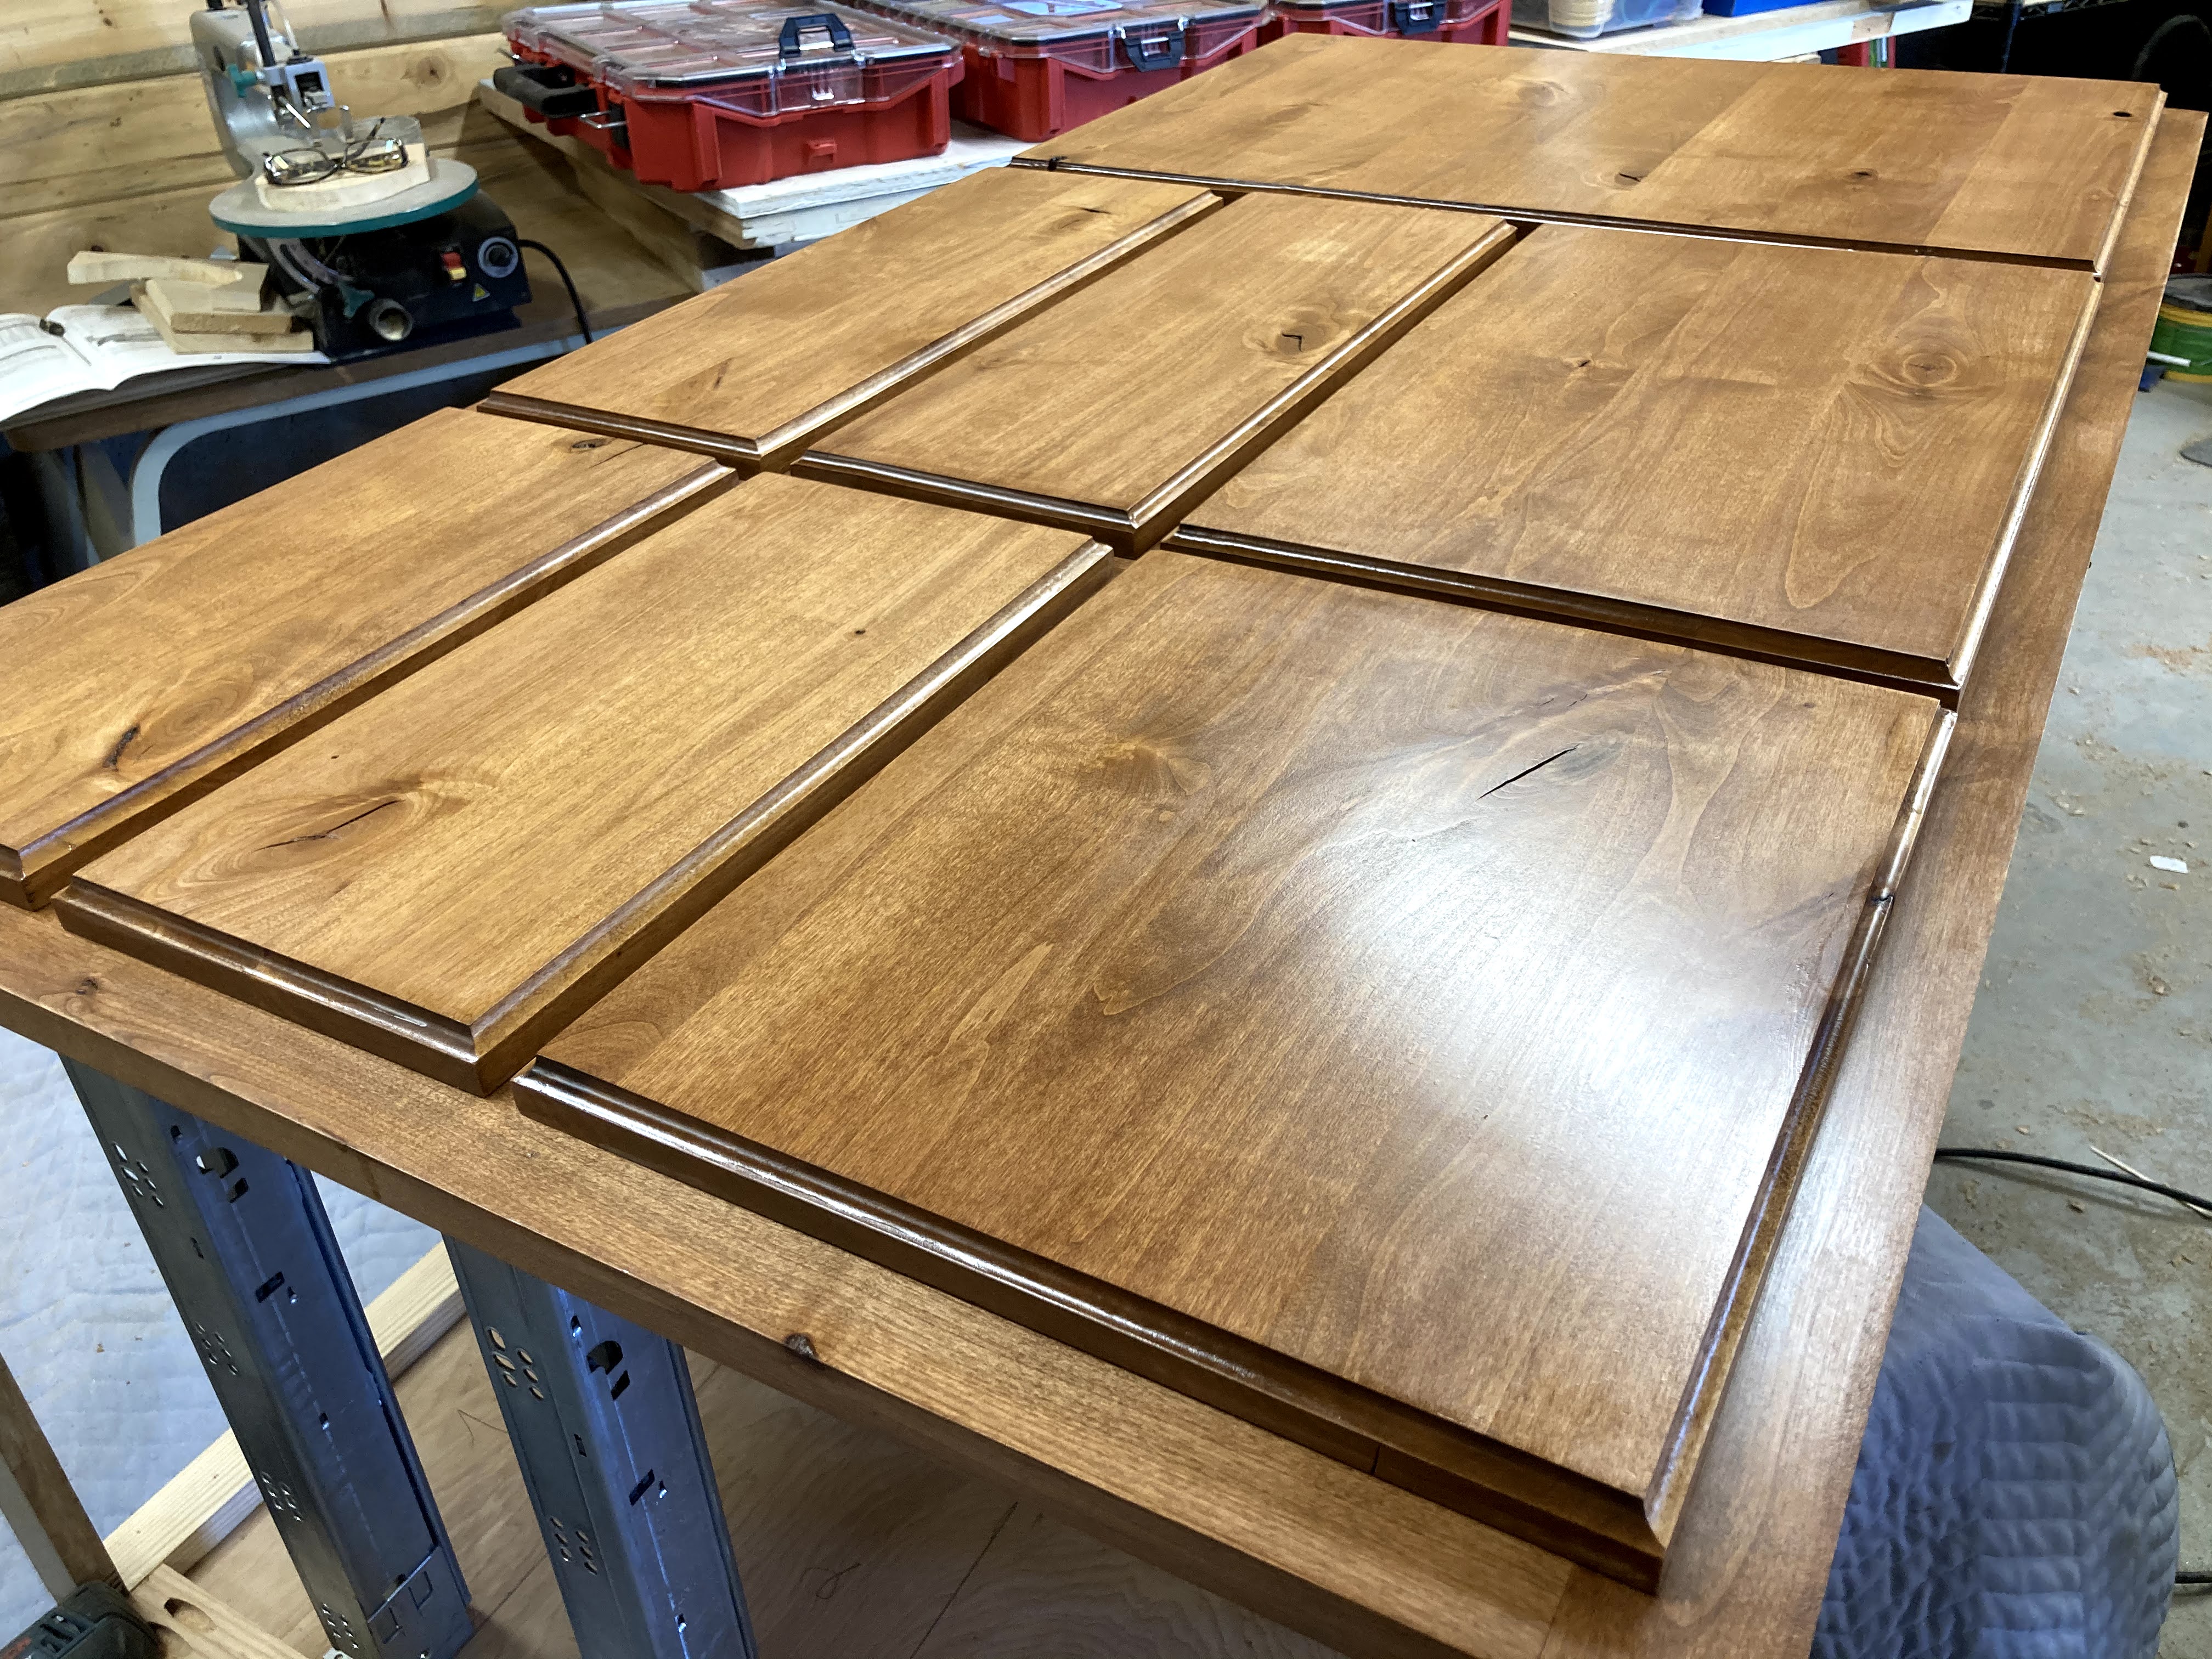
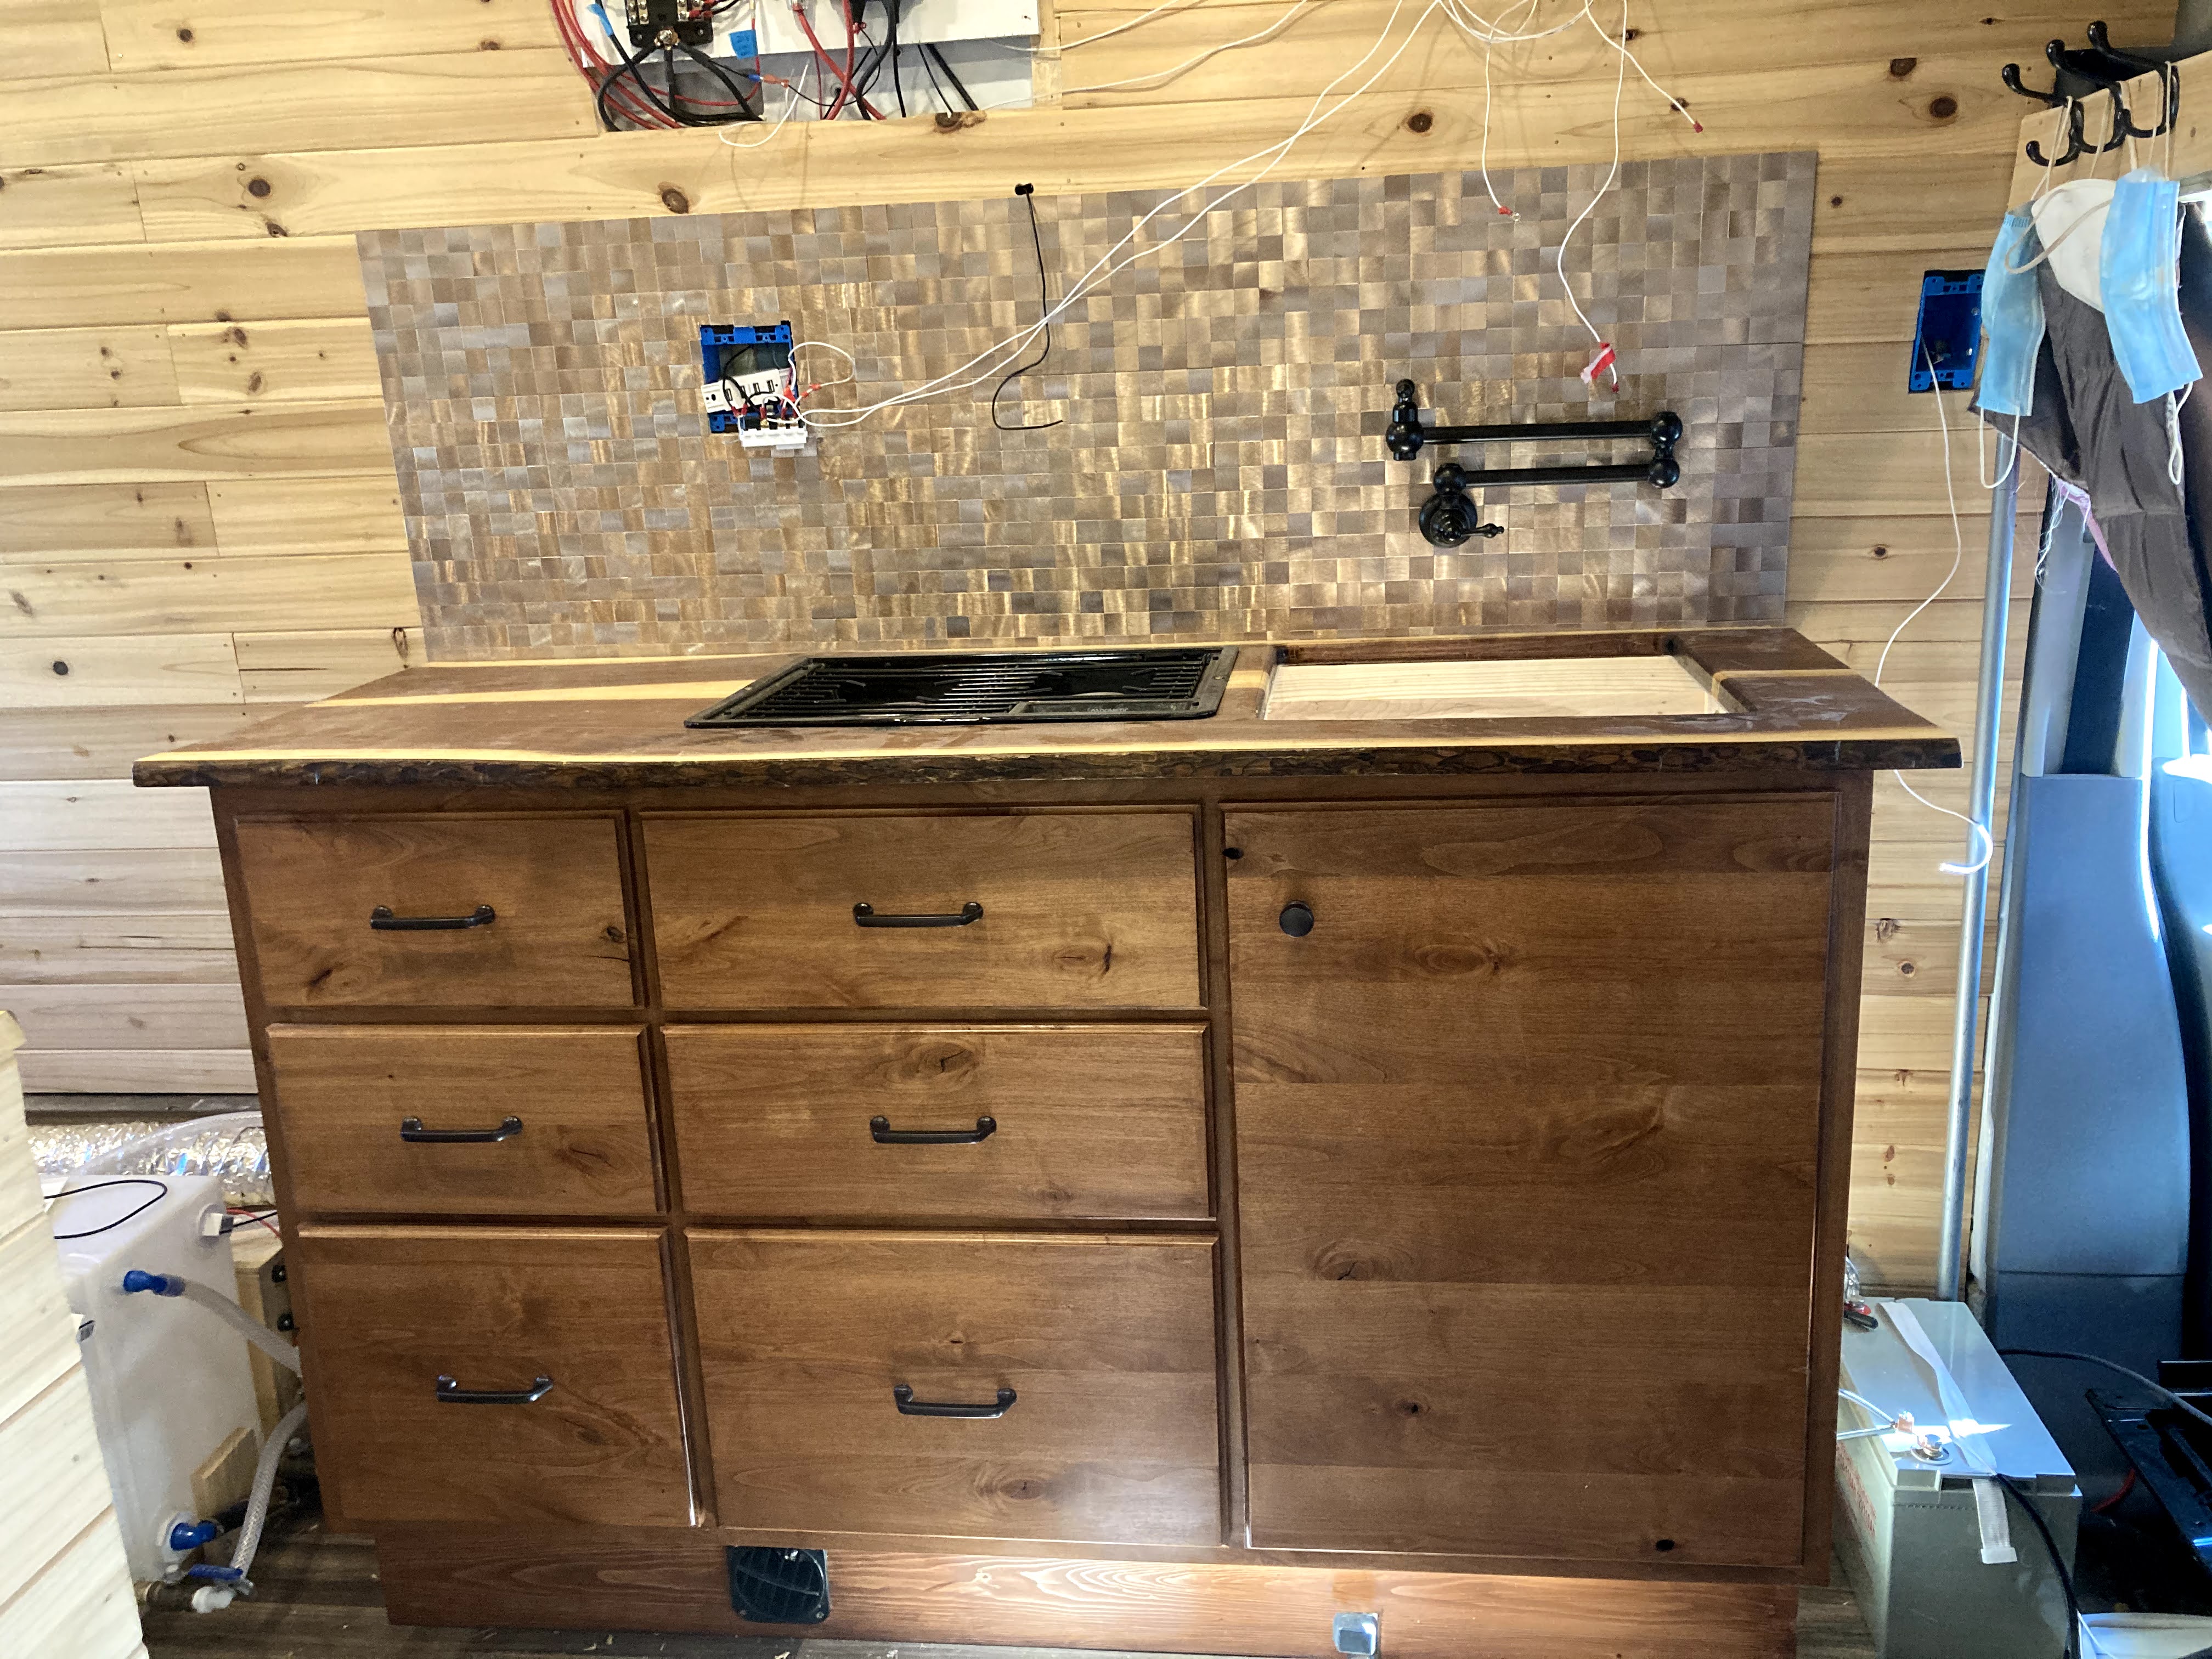
From there I laid out and calculated all the reference measurements for the drawer fronts to make sure they would align correctly when attached. The grid you see between the drawer fronts makes all the difference in the finished piece.
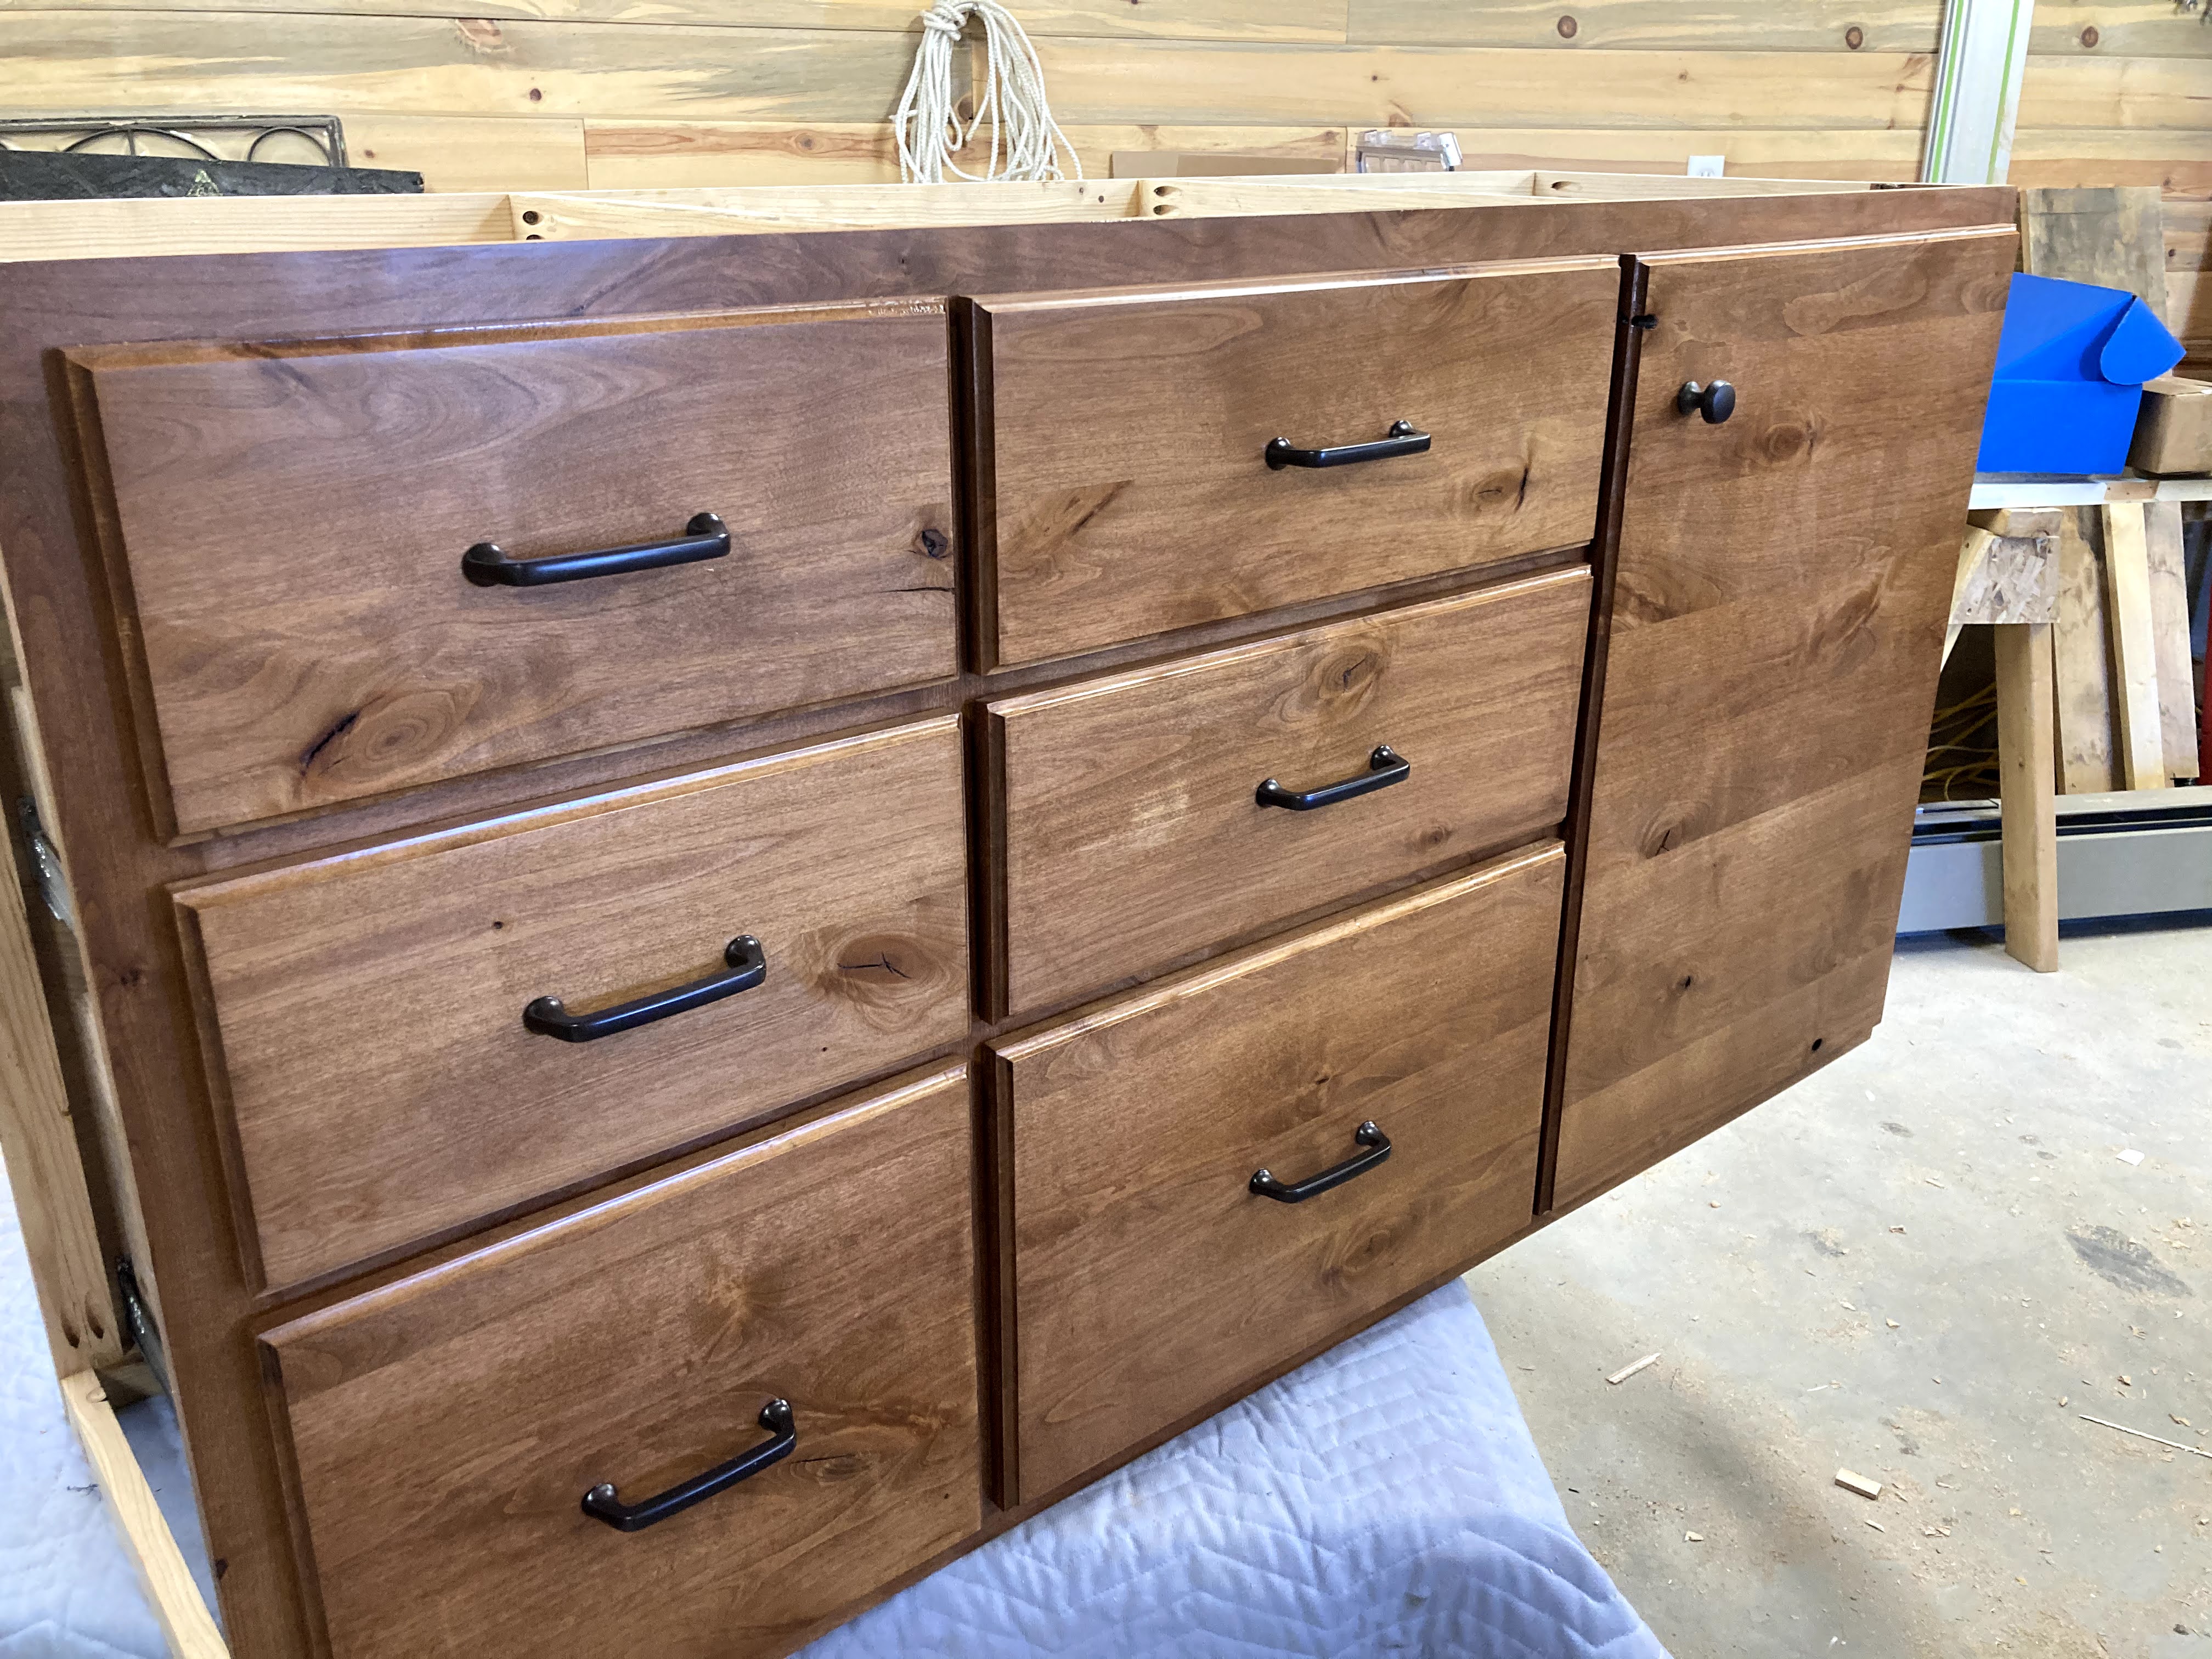
The last piece of the puzzle was attaching the drawer fronts to the drawer boxes, getting them onto the sliders, attaching the hardware, and aligning the cabinet door for the right side. The right door opens to the plumbing for the sink and grey water tank in the van. Also a soft close, I find it has enough "grab" to hold the door close when driving.
I installed quarter inch soft furniture adhesive pads to the inside of the drawer fronts and cabinet door for silent operation and, tada 🎉, one kitchen cabinet ready to go.
This counter has a live edge walnut countertop, and a non-standard toe-kick height of 5.5" to allow for use of the foot-pump that powers the sink. Please disregard the open wall and exposed wiring :)